Have you ever admired a perfectly tailored garment and wondered how the seams look so seamless? The secret often lies in a technique called the blind stitch. Whether you’re hemming pants, sewing a delicate dress, or repairing a tear, mastering the blind stitch can elevate your sewing game to a professional level. This nearly invisible hand-sewing method creates clean, polished finishes that hide stitches from plain sight—perfect for anyone aiming for a flawless look.
In this step-by-step guide, we’ll walk you through how to do a blind stitch with ease, even if you’re a beginner. With clear instructions, pro tips, and a sprinkle of sewing know-how, you’ll be stitching like an expert in no time. Let’s dive in and unlock the magic of invisible seams!
What Is a Blind Stitch? Understanding the Basics
A blind stitch, also known as a slip stitch or invisible stitch, is a hand-sewing technique used to join two folded edges of fabric in a way that conceals the stitches on the visible side. It’s a go-to method for hemming, attaching linings, or closing small openings—like the final seam in a stuffed toy or pillow.
Why choose a blind stitch? It’s all about subtlety. Unlike machine stitching, which can leave visible lines, a blind stitch keeps your work discreet and elegant. Plus, it’s versatile enough for both lightweight fabrics like silk and heavier materials like wool.
Tools You’ll Need for a Perfect Blind Stitch
Before we get into the blind stitch step-by-step process, gather these essentials:
- Needle: A sharp, thin hand-sewing needle (size 7-9 works well).
- Thread: Match the color to your fabric for invisibility.
- Scissors: For trimming thread and fabric edges.
- Pins or Clips: To hold your fabric in place.
- Iron: To press folds and ensure crisp edges.
- Thimble (optional): Protects your fingers during longer projects.
With your tools ready, let’s move on to the fun part—stitching!
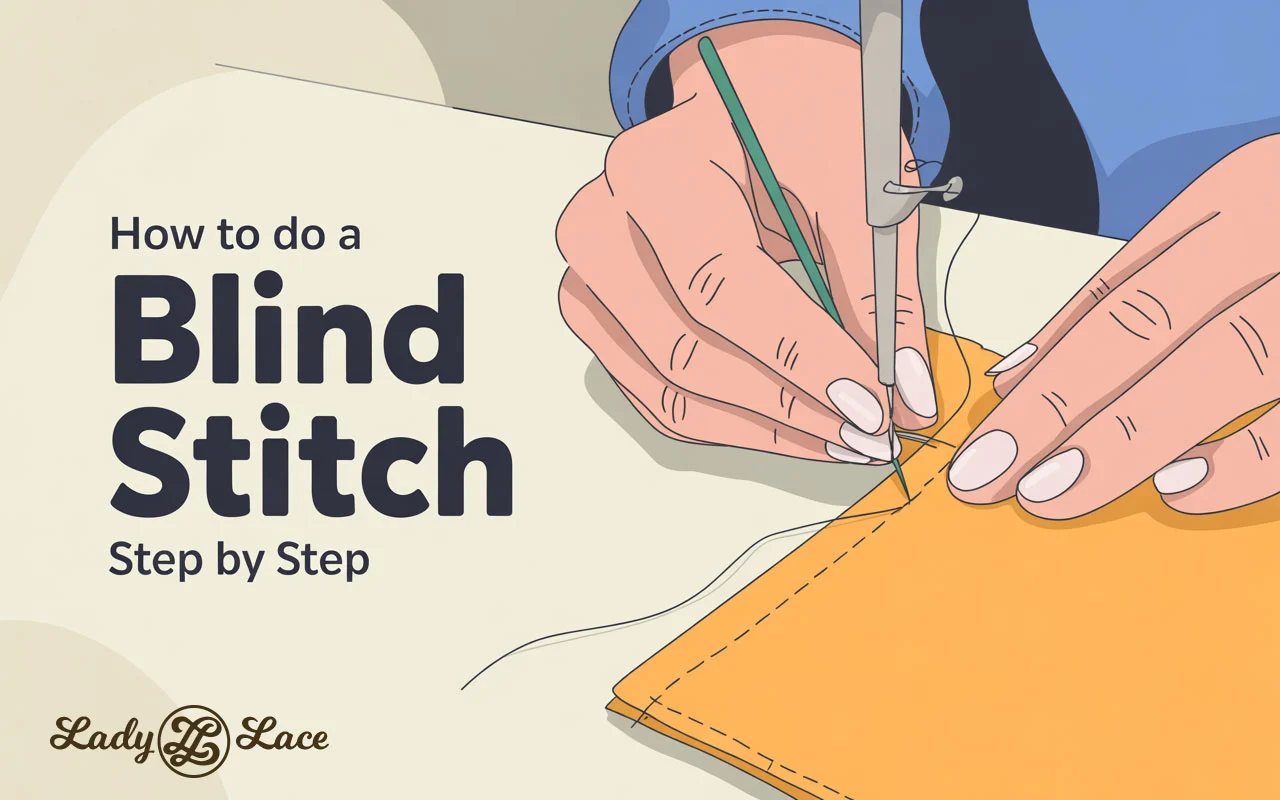
How to Do a Blind Stitch Step by Step
Follow these detailed steps to create a flawless blind stitch. Whether you’re hemming a skirt or closing a seam, this method ensures a professional finish every time.
Step 1: Prepare Your Fabric
Start by prepping your fabric edges. If you’re hemming, fold the raw edge inward about ¼ inch and press it with an iron. Then, fold it again to your desired hem length (e.g., 1 inch) and press once more. Pin the fold in place to keep it secure.
Pro Tip: Pressing is key! A crisp fold makes your blind stitch cleaner and easier to sew.
Step 2: Thread Your Needle
Cut a length of thread (about 18-24 inches) to avoid tangling. Thread your needle and knot the end. For extra invisibility, double the thread and knot it, but keep it fine enough to avoid bulk.
Step 3: Start with a Hidden Knot
Insert your needle into the folded edge of the fabric from the inside, so the knot stays hidden. Pull the thread through until the knot catches against the fabric. This anchors your blind stitch without showing on the outside.
Step 4: Take Your First Stitch
Now, move to the opposite fabric piece (e.g., the main garment if you’re hemming). Pick up just 1-2 threads of the fabric with your needle, keeping it shallow. Pull the thread through gently. This tiny stitch keeps the visible side clean.
Step 5: Stitch Back into the Fold
Return to the folded edge. Insert the needle about ¼ inch from your starting point and run it through the fold for a small distance (about ⅛ to ¼ inch). Pull the thread through, keeping tension even but not tight.
Step 6: Repeat the Process
Alternate between the main fabric and the folded edge, taking tiny stitches on the outside and slightly longer ones inside the fold. The key to a perfect blind stitch is consistency—keep your stitches evenly spaced and barely visible.
Step 7: Finish with a Secure Knot
Once you’ve reached the end, loop your needle through the last stitch twice to create a small knot. Hide the knot by slipping the needle into the fold and pulling it out a short distance away, then trim the excess thread.

Tips for Mastering the Blind Stitch Technique
- Practice First: Try your blind stitch on scrap fabric to get the hang of it.
- Use the Right Thread: A slightly thicker thread can be easier for beginners, but switch to finer thread for delicate projects.
- Keep Tension Light: Pulling too hard can pucker the fabric and ruin the invisible effect.
- Work in Good Light: A bright workspace helps you see those tiny stitches.
For more sewing techniques, check out our guide on How to Sew a Straight Seam!
Common Uses for the Blind Stitch
The blind stitch isn’t just for hems—it’s a versatile skill with many applications:
- Hemming Garments: Pants, skirts, and dresses get a polished finish.
- Closing Openings: Perfect for pillows, toys, or linings.
- Attaching Bindings: Secure bias tape or trims discreetly.
- Repairs: Mend tears without obvious stitching.
Curious about machine alternatives? Some sewing machines offer a blind hem stitch, but hand-sewing gives you unmatched control. Learn more from this expert tutorial on machine blind stitching.
Blind Stitch vs. Other Stitching Methods
How does the blind stitch stack up? Here’s a quick comparison:
- Blind Stitch: Invisible, hand-sewn, ideal for delicate finishes.
- Running Stitch: Visible, quick, better for basting.
- Whip Stitch: Stronger but more noticeable, great for edges.
The blind stitch shines when aesthetics matter most. It’s a slower process, but the results are worth it.

FAQ: Your Blind Stitch Questions Answered
What is the easiest way to learn a blind stitch?
Start with a simple project like hemming a napkin. Follow our blind stitch step-by-step guide, practice on scraps, and use a contrasting thread to see your progress before switching to matching thread.
Can you do a blind stitch on a sewing machine?
Yes! Many machines have a blind hem stitch setting, but it requires a special foot and practice. Hand-sewing remains the most precise option for small or delicate projects.
How long does it take to blind stitch a hem?
For a beginner, a 20-inch hem might take 30-45 minutes. With practice, you’ll speed up to 15-20 minutes.
Is a blind stitch strong enough for heavy fabrics?
It’s best for light to medium fabrics. For heavy materials like denim, reinforce with a machine stitch first, then use a blind stitch for the finish.
Stitch Your Way to Perfection
Mastering how to do a blind stitch step by step opens up a world of sewing possibilities. From hemming your favorite pants to crafting heirloom-quality pieces, this technique delivers invisible, professional results every time. With a little patience and practice, you’ll be amazed at how polished your projects look.