
In recent years, scrunchies have become a major fashion statement for girls of all ages. They’re very simple to make at home, in addition to being stylish and adaptable. We’ll walk you through the process of making your own fashionable scrunchies in this guide, so you can match them to any outfit or mood.
Materials Needed:
Before we dive into the process, let’s gather the materials you’ll need:
- Fabric of your choice (cotton, satin, velvet, etc.)
- Elastic (¼ inch width works well)
- Scissors
- Sewing machine or needle and thread
- Pins
- Measuring tape
- Safety pin (optional)
Step 1: Select Your Material
Choose the fabric for your scrunchies first. Here, you can let your imagination run wild and select any pattern or texture that appeals to you. Although satin and velvet can give your scrunchies a hint of luxury, cotton is still a popular material due to its versatility.
Step 2: Cut Your Fabric
Cut a piece of fabric into a rectangle with your scissors. Depending on how large you want your scrunchie to be, the dimensions can change. Standard dimensions are approximately 22 inches long by 3–4 inches wide, but you can change them to suit your preferences.
Step 3: Sew the Fabric
With the right sides facing one another, fold the fabric in half lengthwise. For added security, pin it in place along the edge. Next, sew along the pinned edge, leaving a small opening at the end, either with a sewing machine or with a needle and thread.
Step 4: Turn Inside Out
Turn the fabric tube inside out, taking care to turn the right side outward. If necessary, a safety pin can be used to assist with this step. After turning the cloth inside out, use an iron to flatten it and create clean edges.
Step 5: Insert the Elastic
Depending on how tight you want your scrunchie to be, cut an 8 to 9-inch length of elastic. Making sure the other end of the elastic does not get lost inside the fabric tube, secure one end of the elastic with a safety pin and push it through.
Step 6: Sew the Ends Together
After the elastic is fully through, fold the ends over by approximately 0.5 inches and stitch them firmly together. It is important to backstitch several times in order to strengthen the seam and keep the elastic from unraveling.
Step 7: Close the Opening
Lastly, stitch the fabric tube’s opening shut, being careful to neatly tuck in the raw edges. When everything is firmly sewn together, your DIY scrunchie is prepared for wearing!
In conclusion, creating your own scrunchies is a useful and affordable way to accessorize in addition to being a creative and enjoyable project. These lovely scrunchies are ideal for girls of all ages, and all you need are a few basic materials and sewing abilities. So why not give it a shot and give your assortment of accessories a unique flair? Happy creating!
-
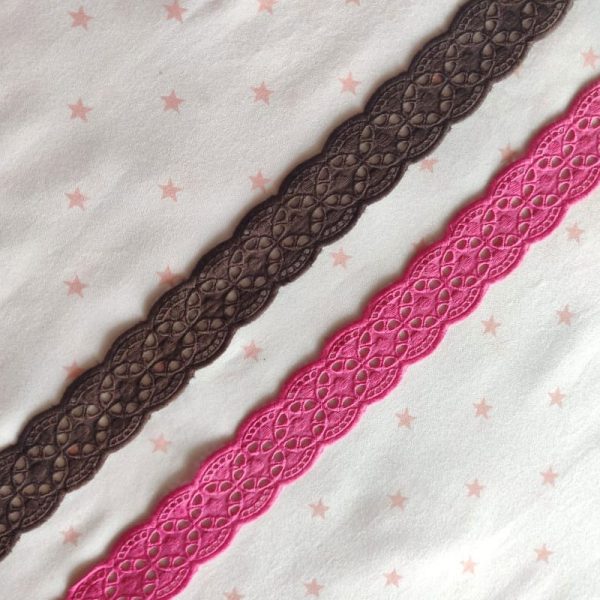
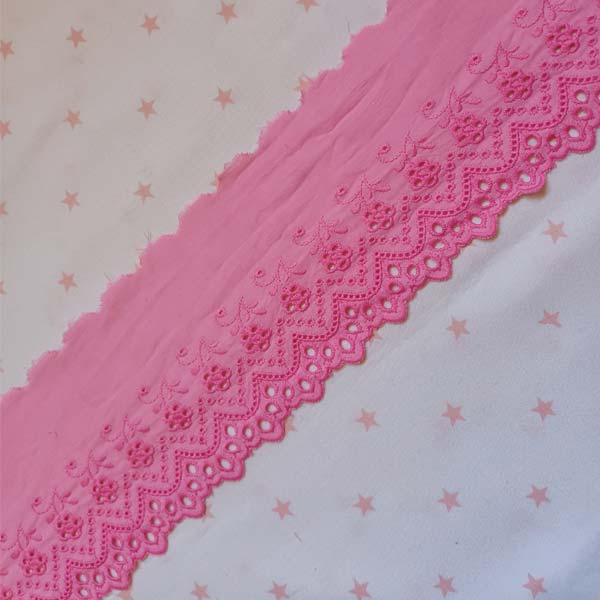
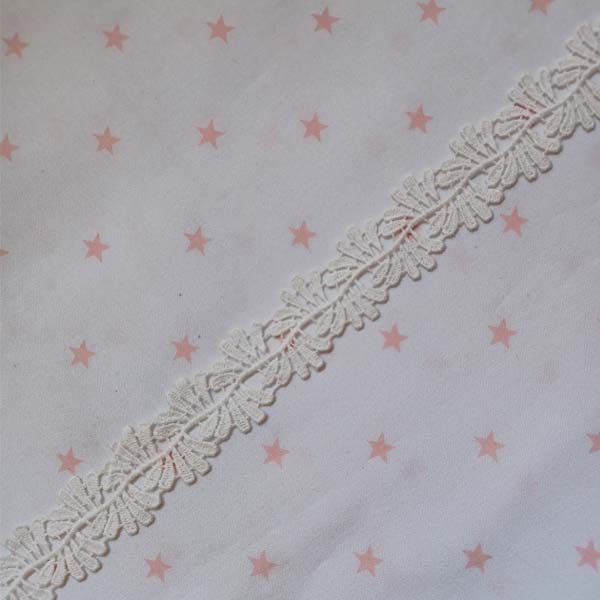
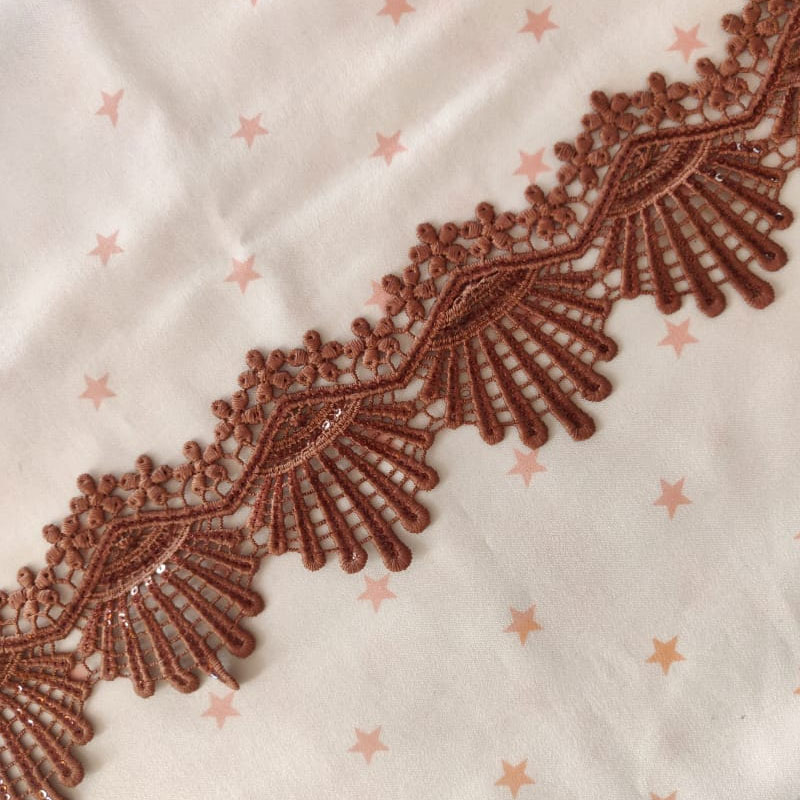
 ₹60.00Cotton Hakoba Two Sided Lace Trim, 1 Metre -1.5 Inches Hakoba Cotton Lace trim, two sided lace, scallop lace, Hakoba Can be use in borders or lehenga or between the panels Color: Rani Pink, Dark Brown
 -
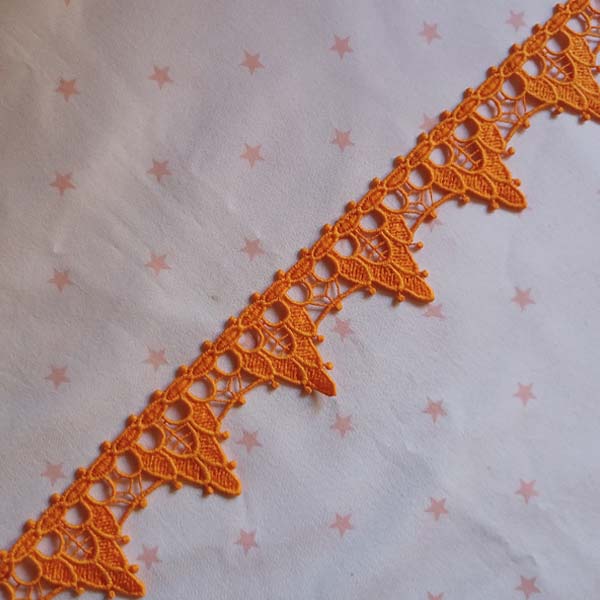
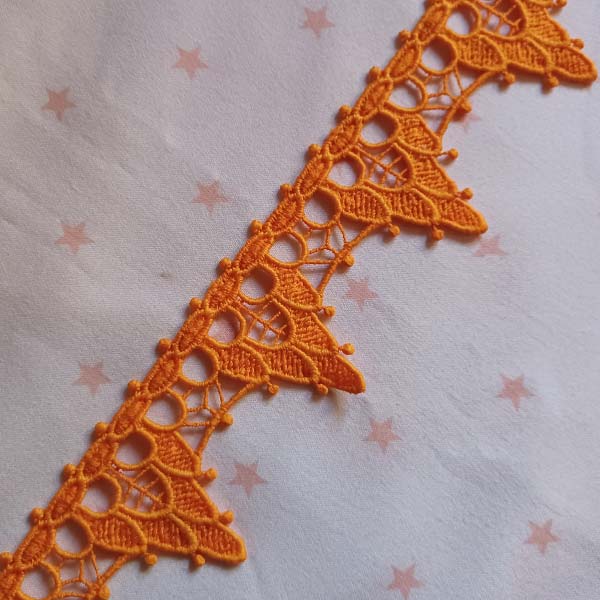 ₹65.00Orange hanging cotton lace trim- 1 metre - 2inch Color: orange One sided lace,hanging lace, grapes laces, imported lace, cotton lace, lace trimming, laces Cotton Waves Lace Trim is a type of decorative lace trim made from cotton that features a wavy, scalloped edge design. The trim is often used…
 -
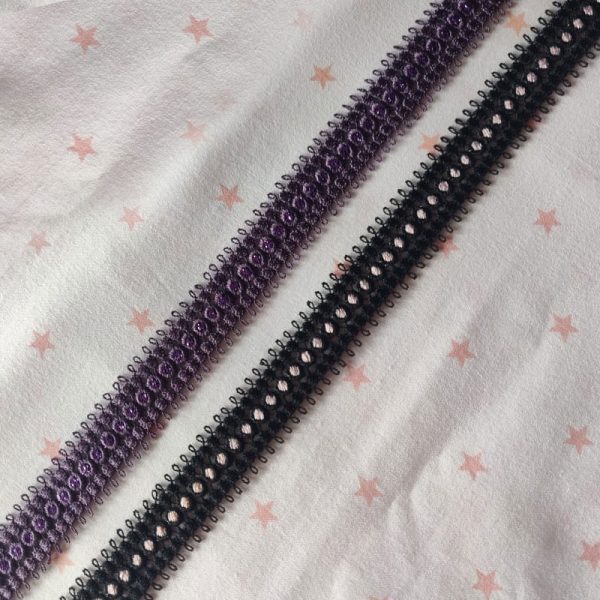 ₹82.00Imported Edge 2 Sided Lace Trim 1 Metre 1 Inches Edging lace lace trim, flower lace,two sided lace Can be use in borders or lehenga or between the panels Color-black and purple
 -
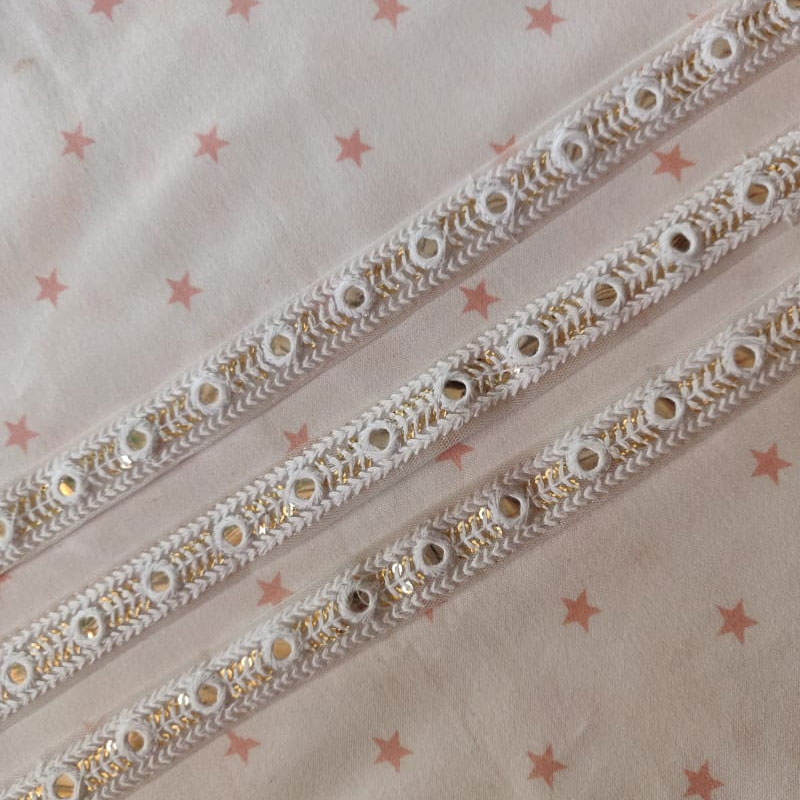
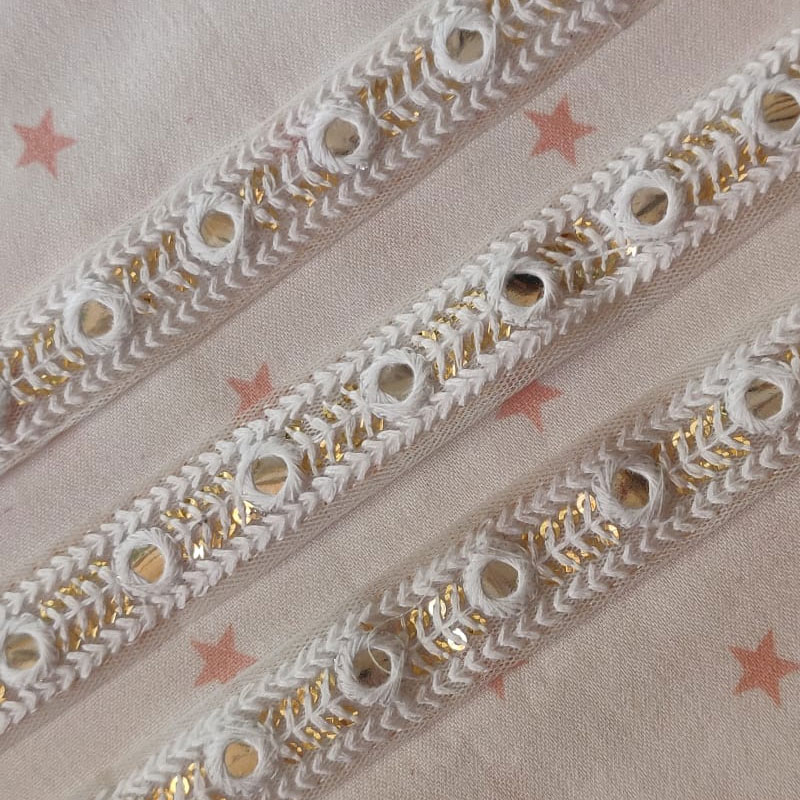 ₹30.00Tiny White Golden Mirror Patti Lace Trim, 1yard, 1inch Color: White and Golden Mirror Lace Trim Two Sided Lace Patti Lace Imported Lace Lace Trimming Patti Lace
 -
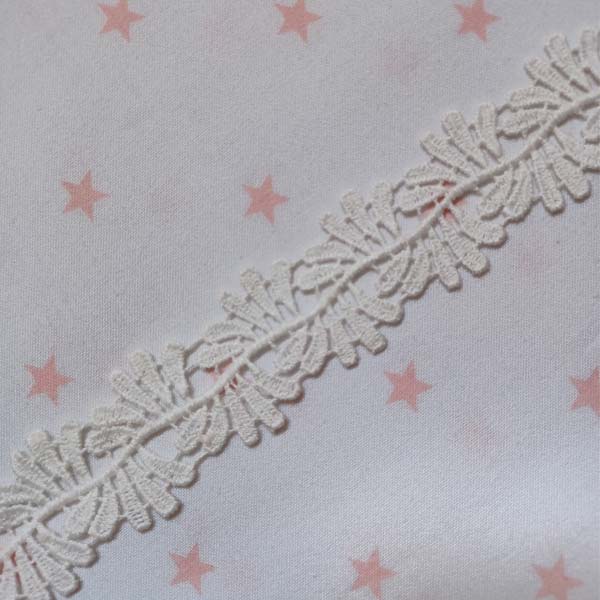
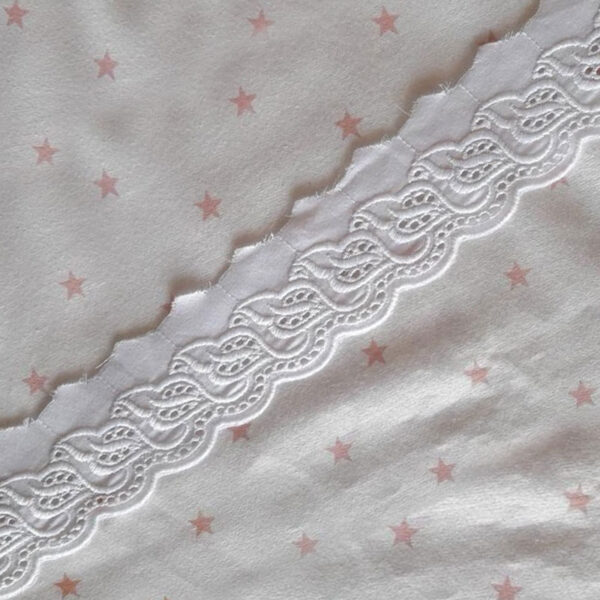
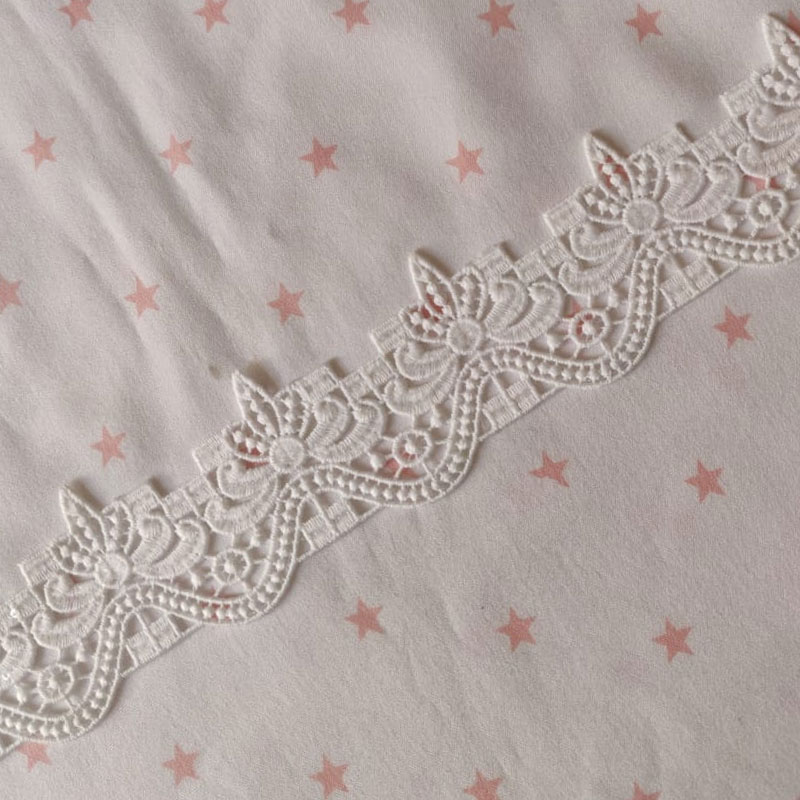
 ₹40.00Imported dyeable cotton scolap white lace trim, 1metre, 2inch Color: White White lace trim ,cotton base lace trim, one side lace , flower lace, scolap lace Dyeable laces
 -
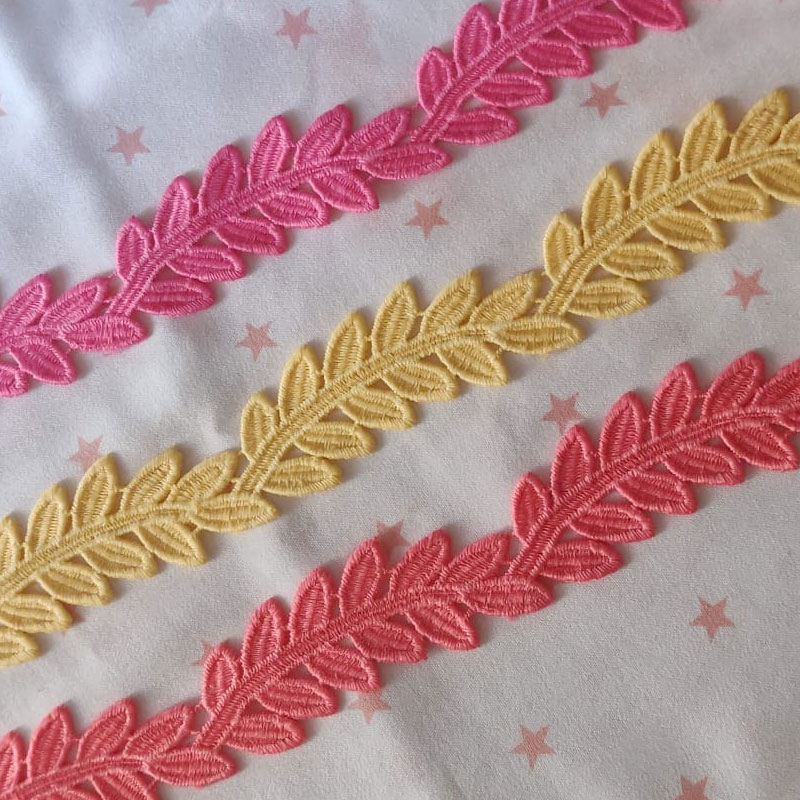 ₹60.00Leaves on Waves Lace Trim, 1metre, 1inch Color: Rose Pink, Yellow, Carrot Pink Guipure Lace Trim Waves Lace Lace Trim Two Side Lace Leaves Lace Scolap Lace
 -
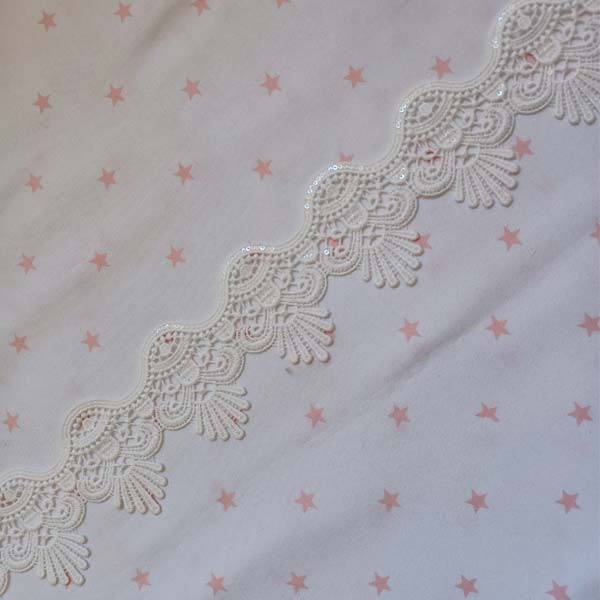
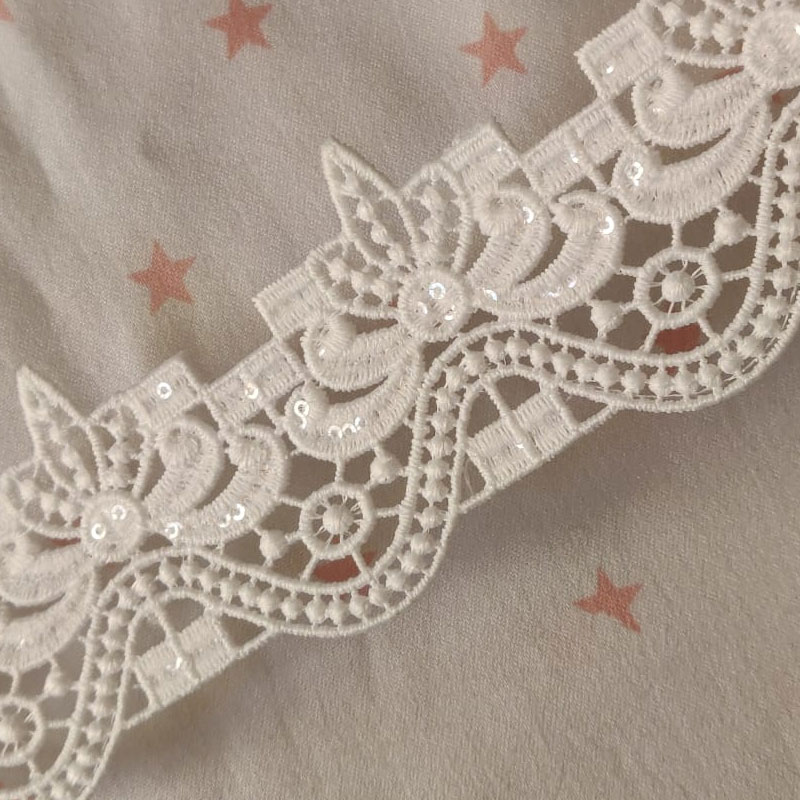
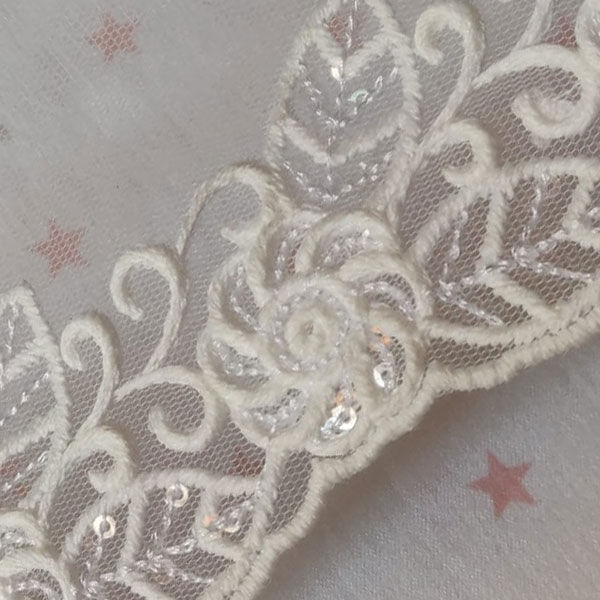
 ₹80.00White Flower Net Base Lace with Sequin All Over, 1 Yard, 2inch Color: White Lace Flower lace trim ,net base lace trim, hanging lace trim, scallop lace flower lace trim, borders lace trim, sequin lace
 -
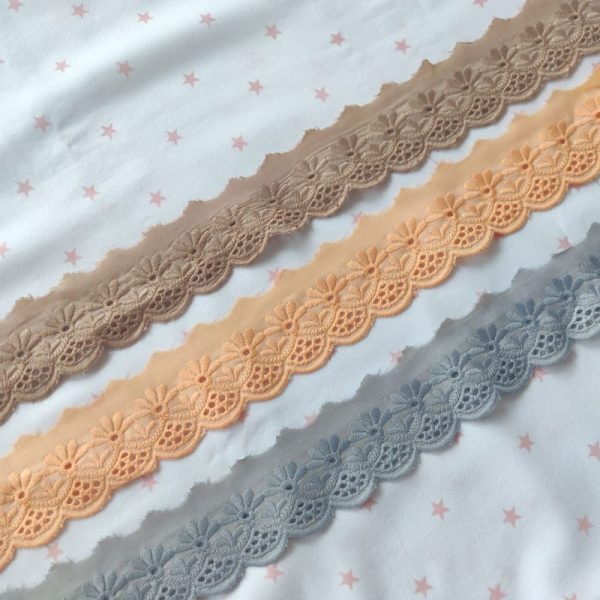 ₹40.00Pure Cotton Lace Trim Hanging Lace Trim Flower Lace 1 metre 2 inches Flower lace trim, hanging lace Can be use in borders or lehenga Safe on kids dress Color: Brown, Orange, Grey
 -
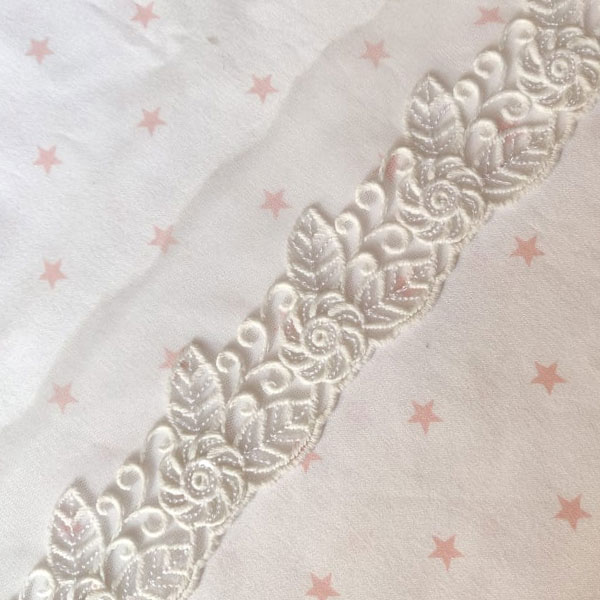
 ₹120.00White guipure sequins lace trim, 1 metre, 2.5 inches Color: White Hanging lace ,sequin lace, white lace, lace trimming, border lace Cotton Waves Lace Trim is a type of decorative lace trim made from cotton that features a wavy, scalloped edge design. The trim is often used to add a…
 -
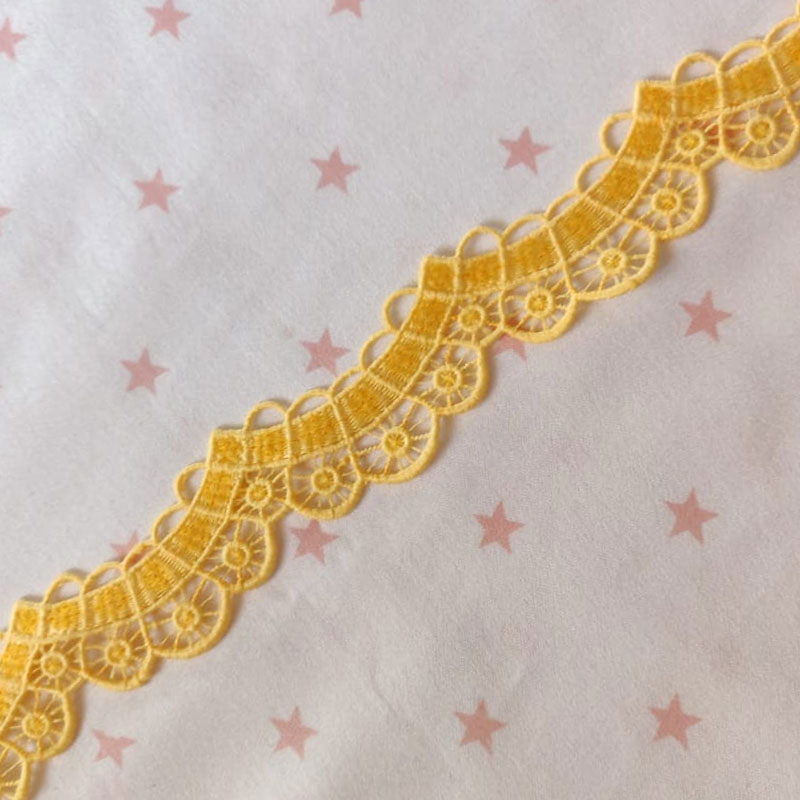
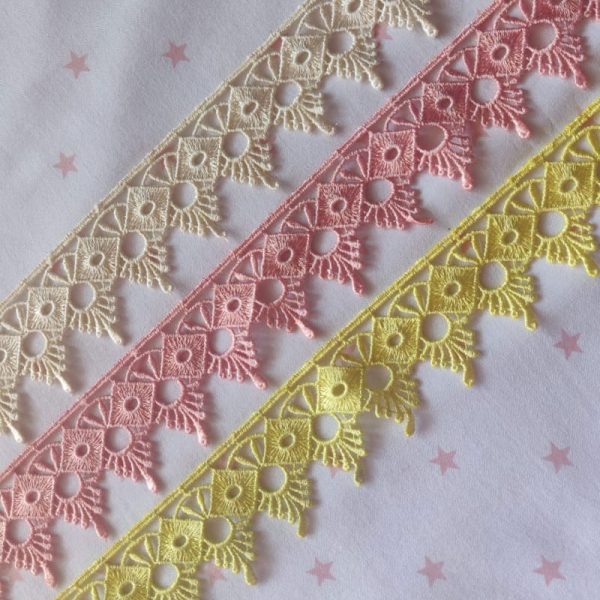 ₹32.00Hanging Lace Trim One Sided Lace 1 Metre 1.5 Inches Hanging Lace Trim One Sided Lace Poly Thread Can be use in Borders or Lehenga Color: Yellow, Peach, Cream
 -
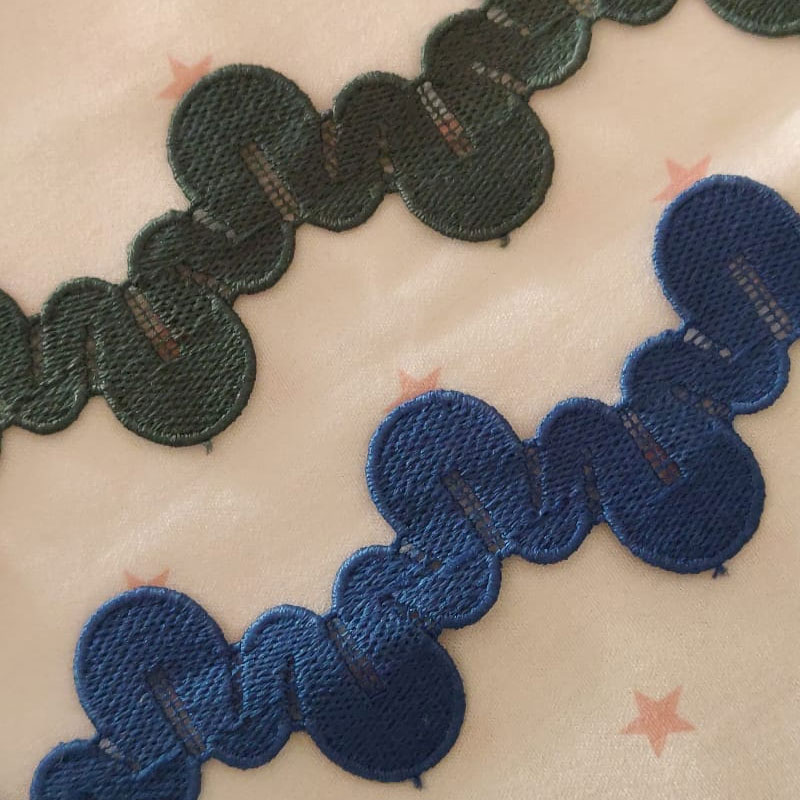
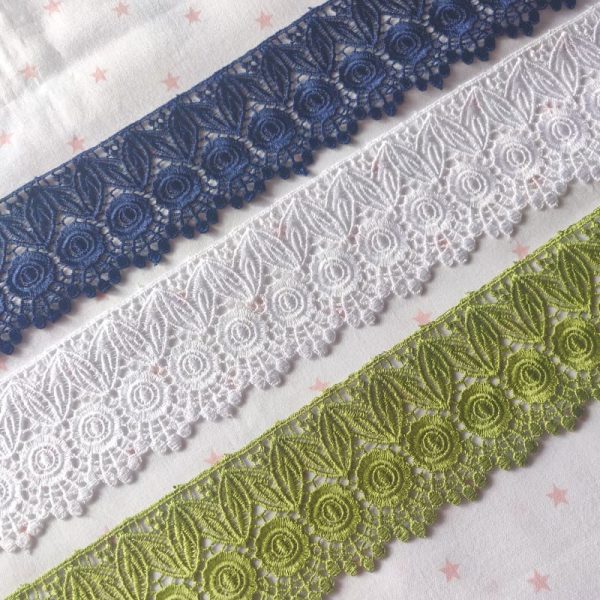 ₹40.00Hanging Lace Trim One Sided Lace 1 metre 3 Inches Hanging lace trim , one sided lace, poly thread Can be use in borders or lehenga Color: Mehndi Green | White | Navy blue
 -
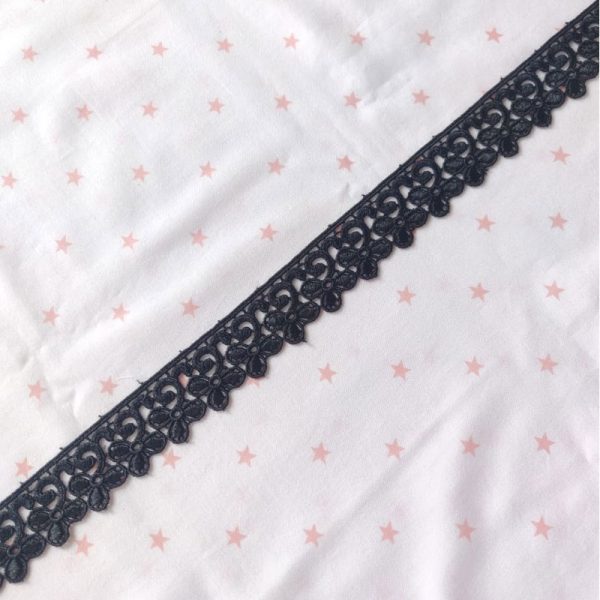 ₹40.00Flower Lace Trim Polyester Lace one sided hanging lace 1 Metre 1.5 inches Flower lace trim, hanging lace Can be use in borders or lehenga Color: black
 -
 ₹60.00
Cotton Hakoba Flower Lace Trim Color: Brown and Pink Cotton lace trim, hakoba lace trim, flower lace trim, hanging lace,edge lace trim
-
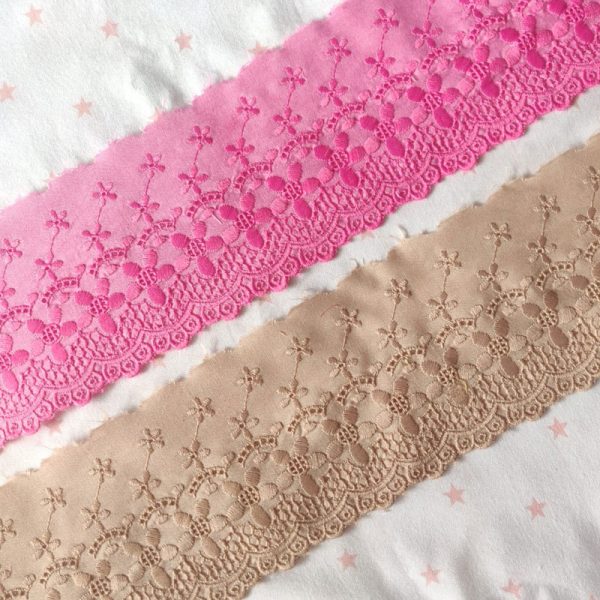
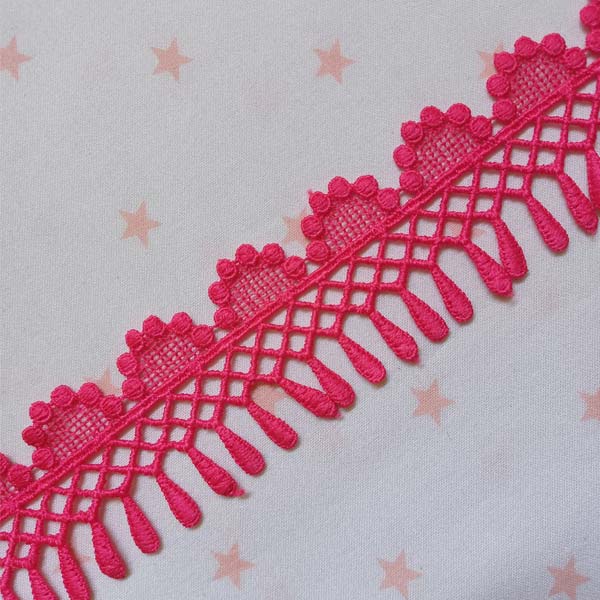 ₹55.00Pink imported cotton hanging lace trim-1 metre-2.5 inches Color: Rani pink Fancy dangling lace, pink lace, lace trim, Rani pink laces Here are some of the benefits of using pink imported cotton hanging lace trim: It is soft and comfortable to the touch. It is durable and can withstand wear…
 -
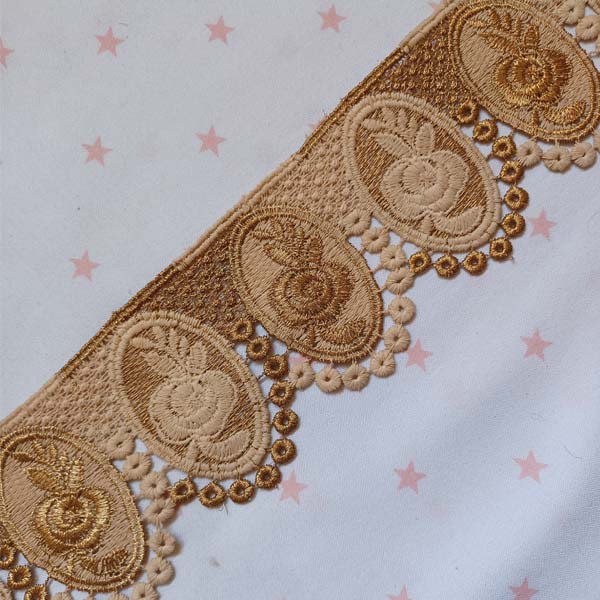 ₹75.00Brown rose golden shiny lace trim, 3 inch, 1 metre Color: Brown Rose golden lace, fancy lace, rose lace, hanging lace, geometric designs Cotton Waves Lace Trim is a type of decorative lace trim made from cotton that features a wavy, scalloped edge design. The trim is often used to…
 -
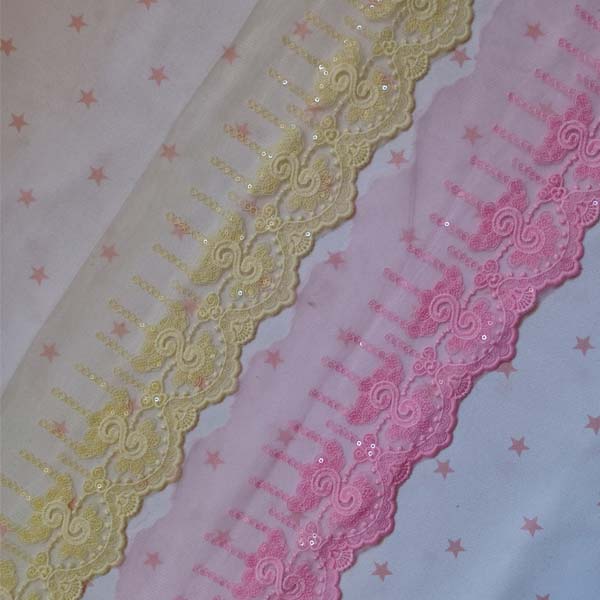
 ₹130.00Baby pink and lemon yellow net sequin scolap lace trim Baby pink and lemon yellow net sequin scolap lace trim is a beautiful and versatile trim that can be used to add a touch of elegance and glamour to any project. It is made from a sheer net fabric and…
 -
 ₹40.00Guipure Insertion White Lace Trim, 1 Metre, 1 Inch Color: white color lace Tiny lace trim, hanging lace trim, flower lace trim, gpo lace trim, guipure lace trim, edge lace trim
 -
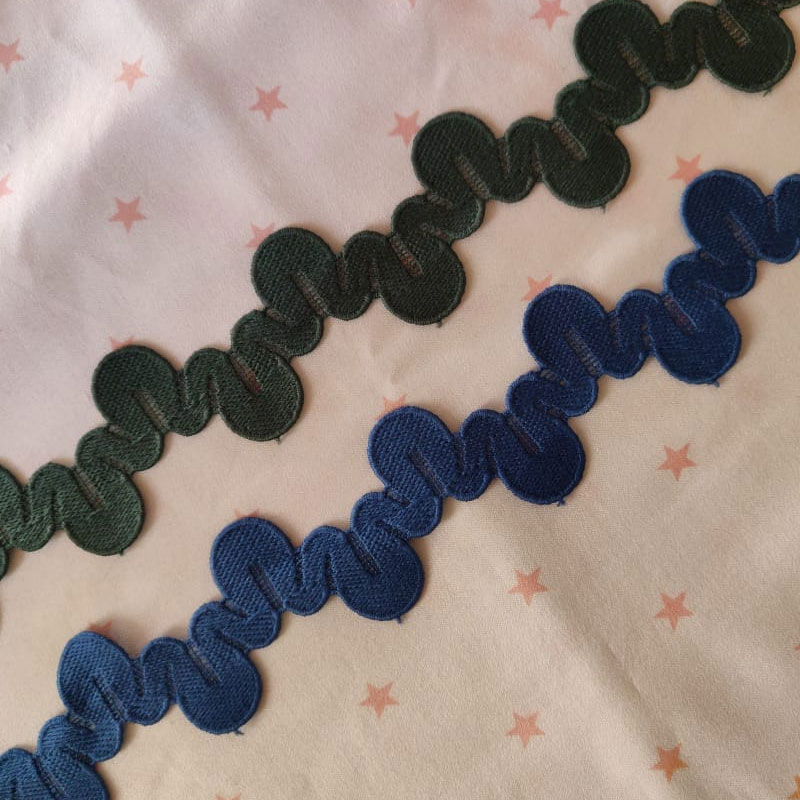
 ₹60.00Waves Guipure Lace Trim, 1metre, 1inch Color: Dark Green, Peacock Blue Guipure Lace Trim Waves Lace Lace Trim Two Side Lace Lace Lace Trimming
 -
 ₹110.00White Geometric Waves Lace Trim, 1metre, 2inch Color: White Cotton Lace Trim Geometric Lace Lace Trim Two Side Lace Flower Waves Lace Lace Trimming Sequin Lace
 -
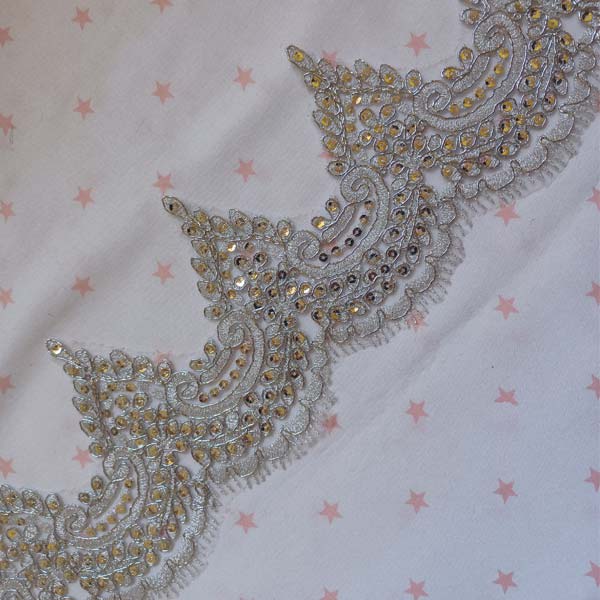
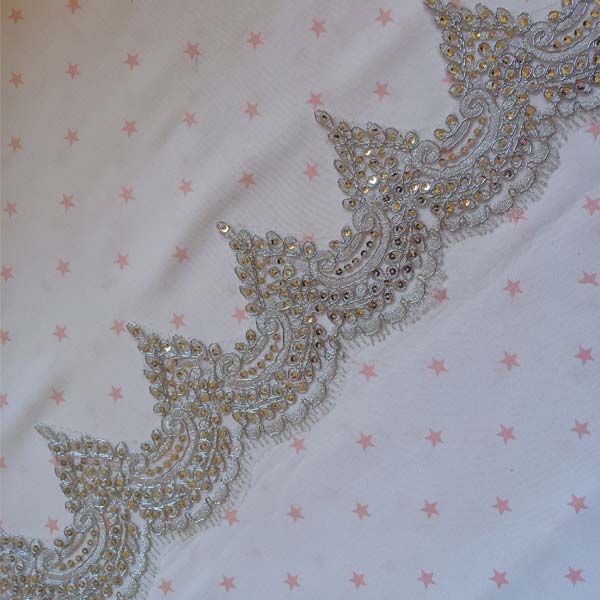 ₹140.00Silver crown tikri kasab lace trim, 1yard, 4.5 inches Color: Silver Crown lace, kasab lace, silver lace Cotton Waves Lace Trim is a type of decorative lace trim made from cotton that features a wavy, scalloped edge design. The trim is often used to add a soft and delicate touch…
 -
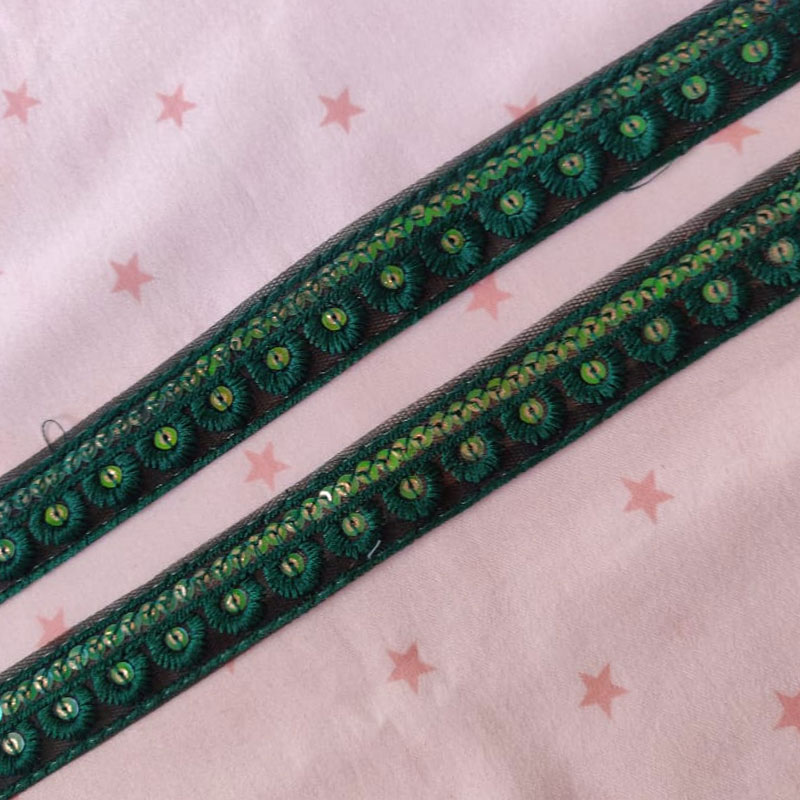
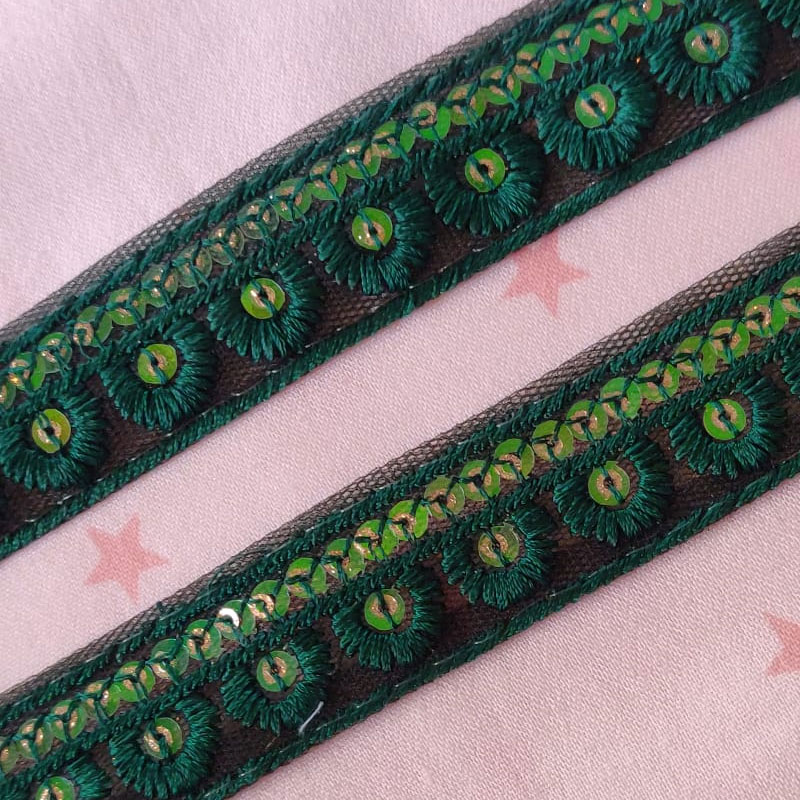 ₹30.00Tiny Green Sequin Patti Lace Trim, 1yard, 1inch Color: Dark Green Sequin Laces Trim Two Sided Laces Scolap Laces Imported Laces, Lace Trimming Patti Lace Net Base
 -

-
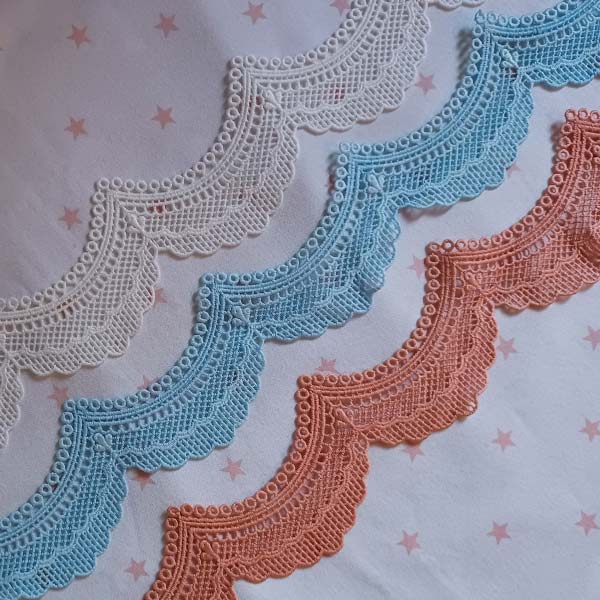
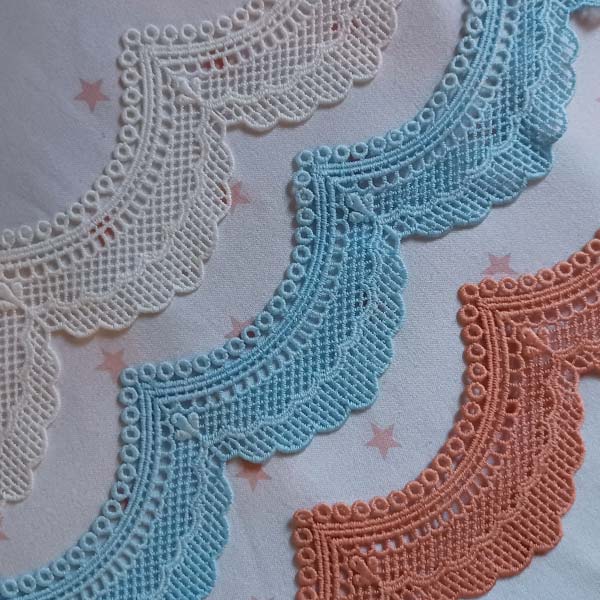 ₹100.00Scolap imported cotton lace trim - 1 metre -2.5inch Color: White, Powder Blue, Brick color Two sided lace, scolap lace, laces, imported lace, cotton lace, lace trimming, laces Cotton Waves Lace Trim is a type of decorative lace trim made from cotton that features a wavy, scalloped edge design. The…
 -
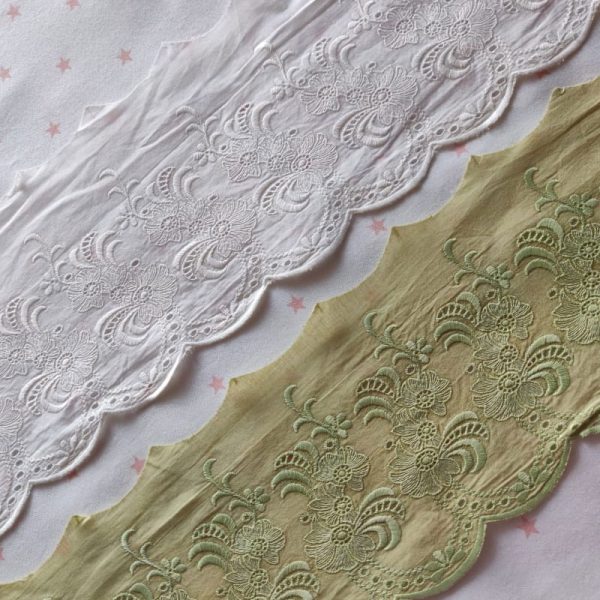 ₹90.00Pure Cotton One Sided Lace Trim, 1 Metre, 5 inches Hanging Cotton Lace Trim, One Sided Lace, scallop lace Can be use in borders or lehenga Color: Mehndi Green, Cream
 -
 ₹60.00Cotton Hanging Flower Lace Trim, 1metre, 2inch Color: Peach Laces and Cream Laces Cotton Lace Trim Hanging Lace Flower Lace Imported Lace Lace Trimming Geometric Pattern Lace
 -
 ₹35.00
Cotton Two Sided Lace Trim, 1 metre, 1 inch Color White Pink Brown Blue Golden brown Two sided cotton lace trim,cotton lace,edge lace trim,safe for kids dress, insertion lace trim
-
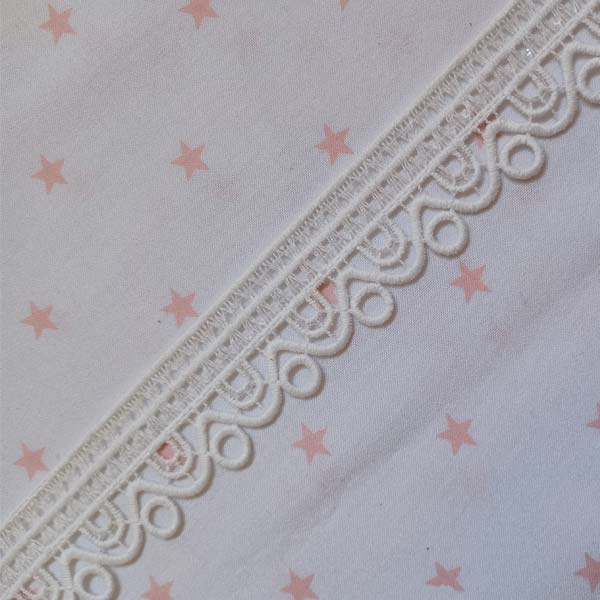
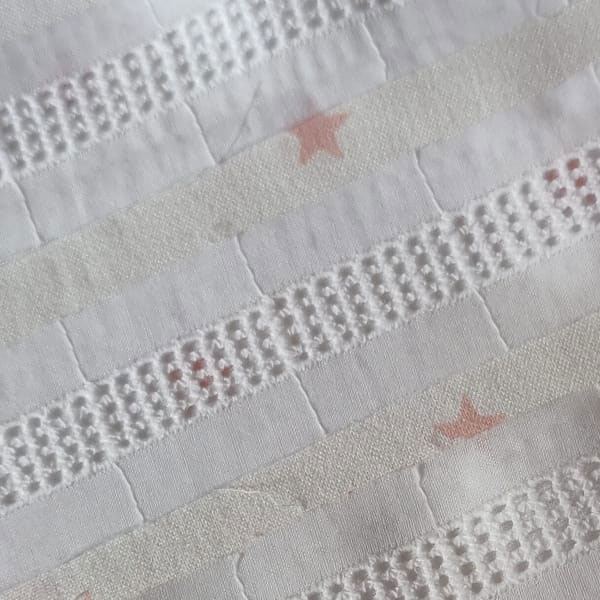
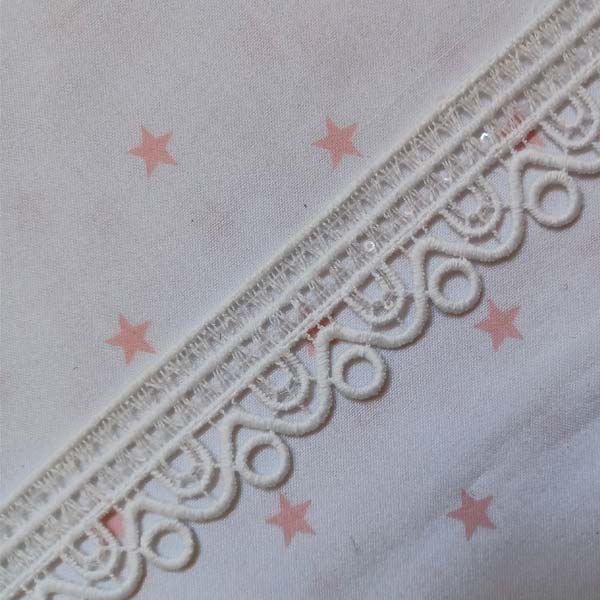
 ₹35.00White Insertion Cotton Lace Trim, 1 Metre, 0.5 inch Color: White Lace Insertion lace trim ,cotton base lace trim, in between lace , check lace, white lace
 -
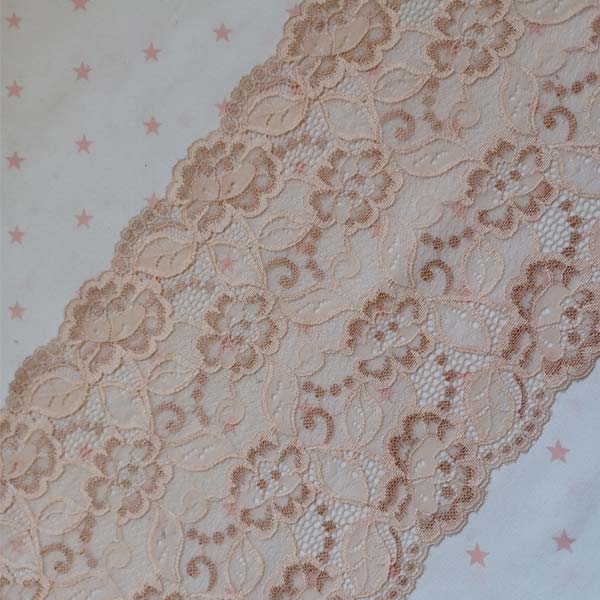
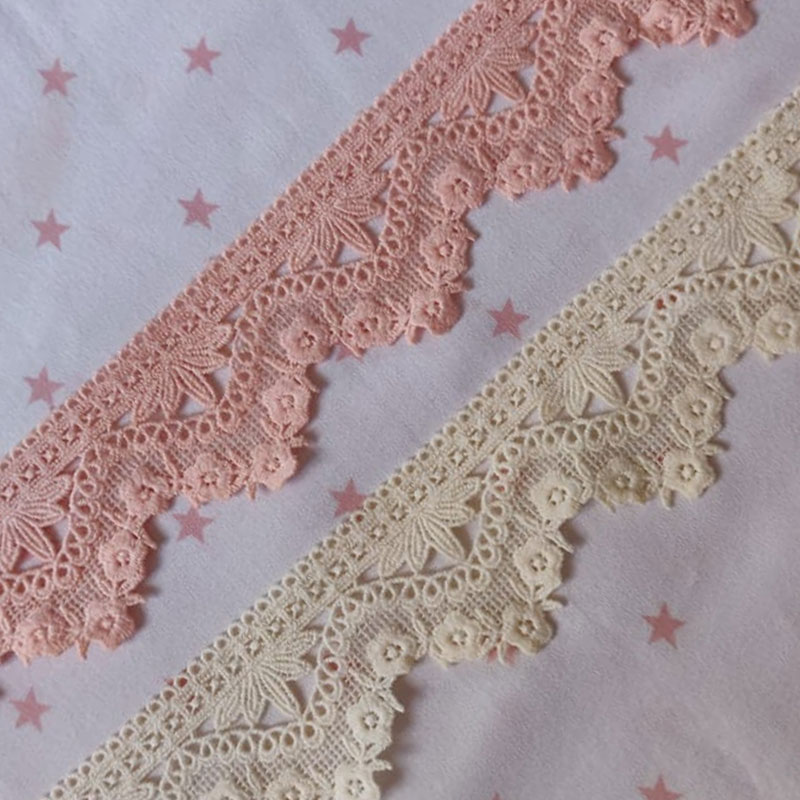
 ₹120.00Imported Cotton Lace Trim Two Sided Lace 1 Metre, 5.5 inches Imported Cotton Lace Trim One Sided Lace Can be use in borders or lehenga Color: Cream | Peach | Pink | Baby pink
 -
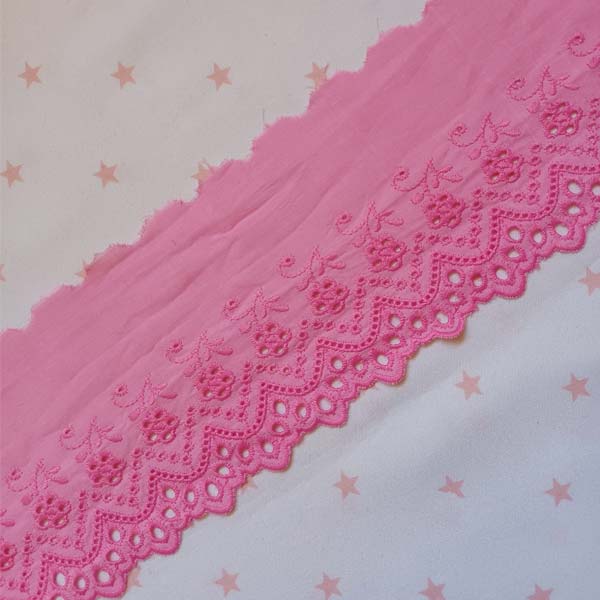
 ₹65.00Pink imported cotton hanging lace trim-1 metre-2.5 inches Color: Pink Cotton lace, pink lace, imported lace trim, border lace, scolap lace trim, laces Cotton Waves Lace Trim is a type of decorative lace trim made from cotton that features a wavy, scalloped edge design. The trim is often used to…
 -
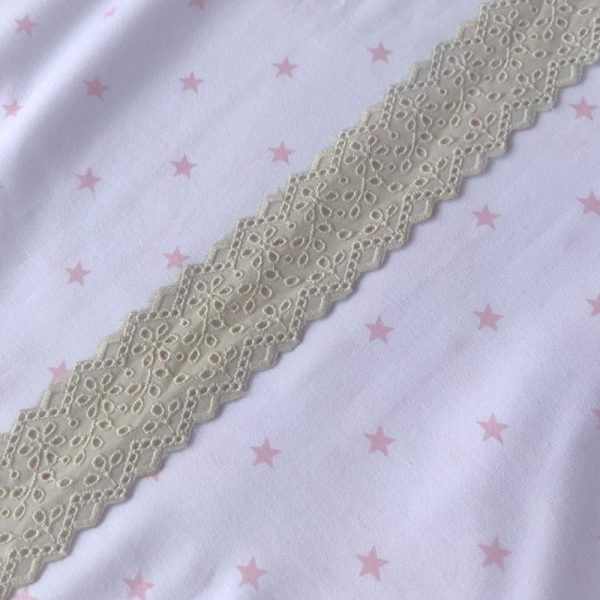
 ₹40.00Imported white cotton lace trim Color: White Delicate in between lace, cotton lace, fancy lace Cotton Waves Lace Trim is a type of decorative lace trim made from cotton that features a wavy, scalloped edge design. The trim is often used to add a soft and delicate touch to a…
 -
 ₹110.00
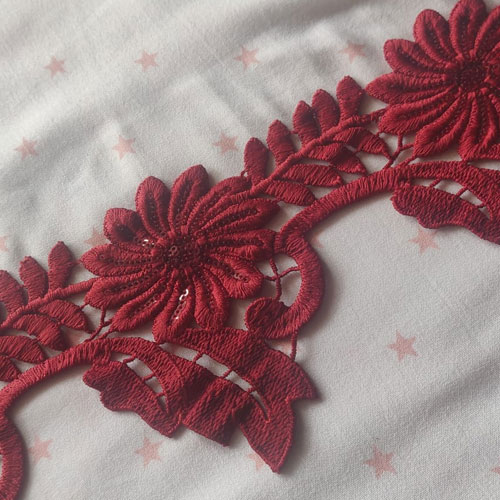
Cotton Guipuri Sunflower Shape Lace Trim with Sequin in Centre, 1 Yard Flower Lace trim, Flower Lace with Sequins in Centre and Sunflower Shape Design, Board Lace, Pure Cotton Lace Can be use in borders or lehenga Color: Maroon and Elachi Green
-
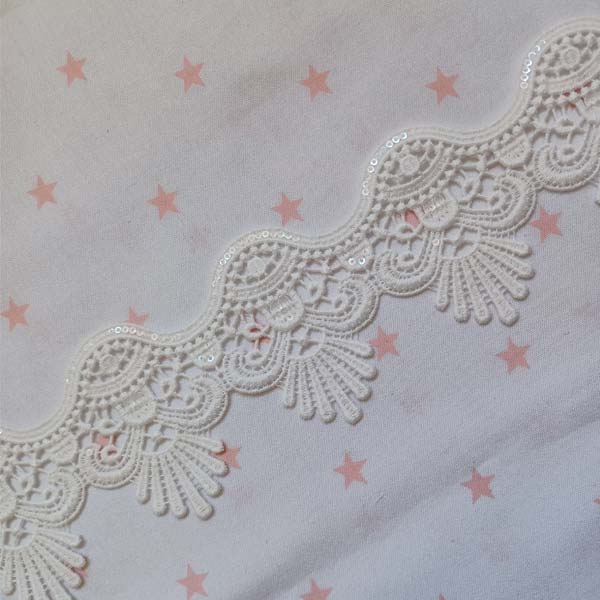
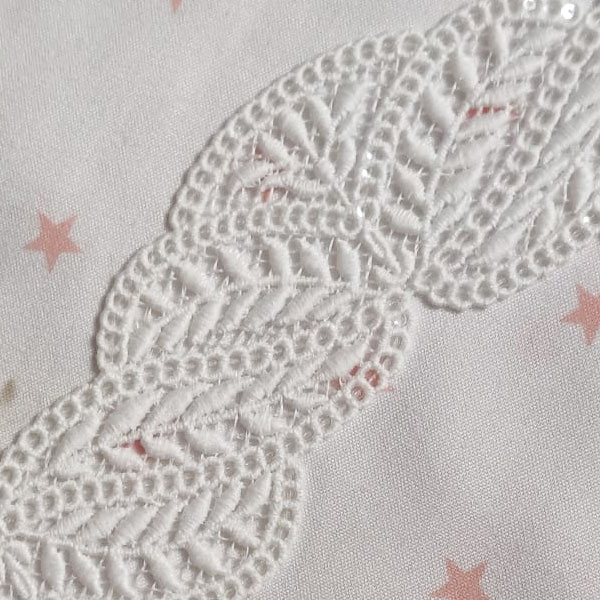
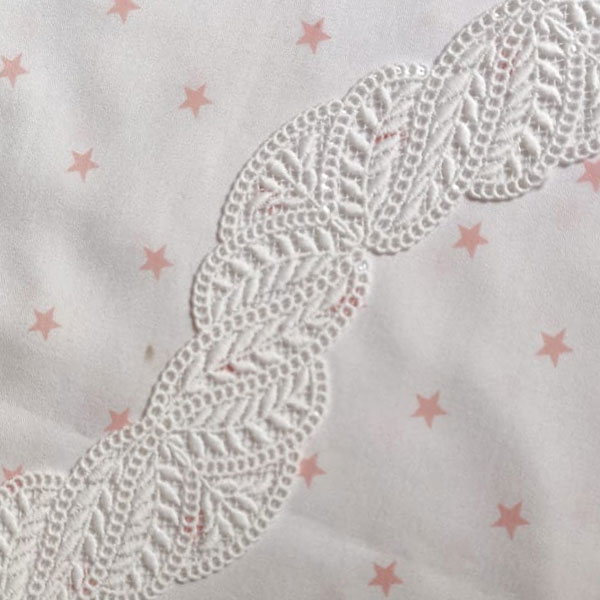 ₹180.00Leaves Shapes Sequence Scallop Lace, 1 Metre, 3.5 inch Color: White Leaves scallop lace trim, sequence in between the pace, net lace trim, two sides lace trim, edge or between lace trim
 -
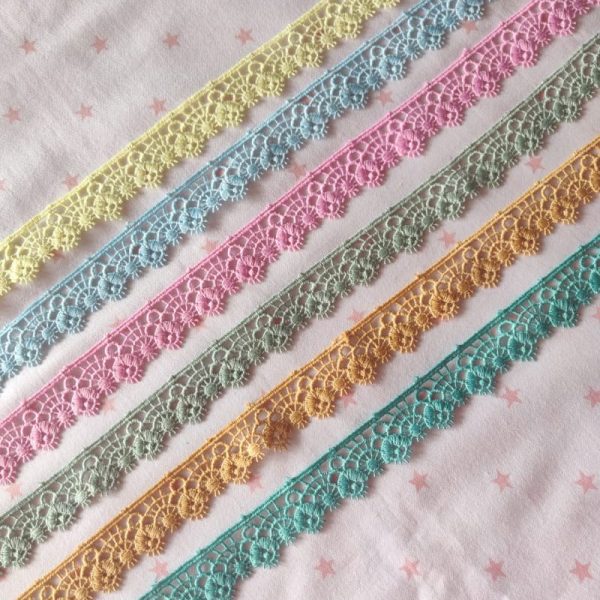 ₹38.00Flower Lace Trim One Sided Lace 1 Metre, 1 Inches Flower Lace Trim One Sided Lace Poly Thread Hanging Lace Can be use in borders or Lehenga and Duppata Borders Color: Lime Yellow | Sky Blue | Pink | Elachi Green | Golden | Peacock Green
 -
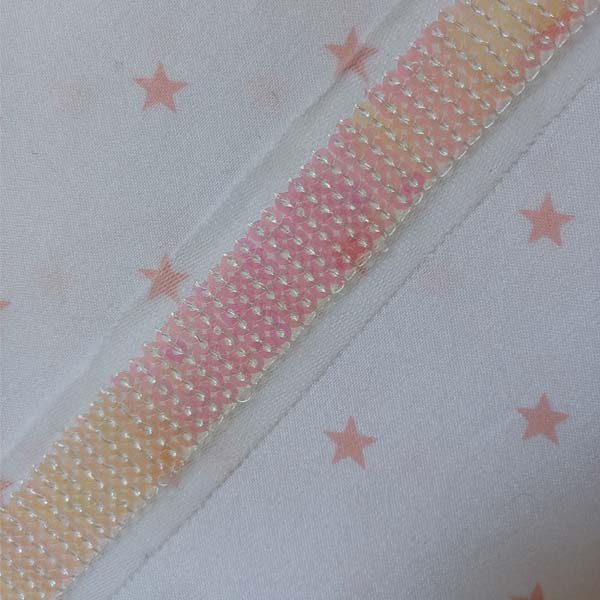 ₹20.00White rainbow effect sequins lace trim, 1 inch, 1 metre Color: White with rainbow effect Sequence lace, rainbow effect, middle lace, shine lace trim, net base, tikri lace Cotton Waves Lace Trim is a type of decorative lace trim made from cotton that features a wavy, scalloped edge design. The…
 -
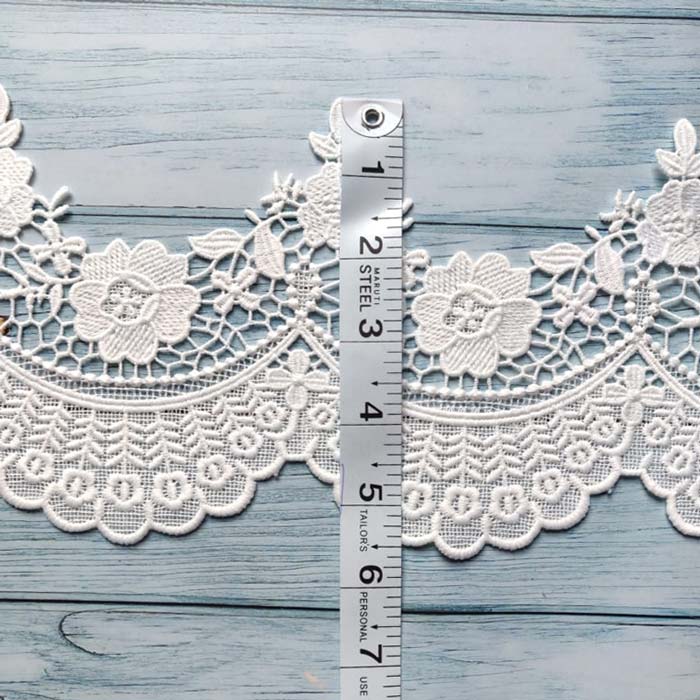
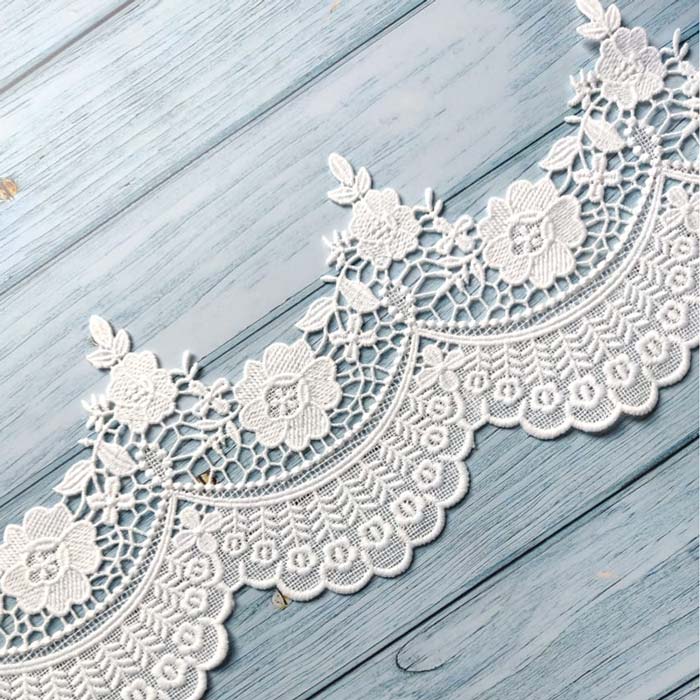 ₹220.00Scallop Flower Net White Board Lace, 1 Metre, 5.5 inch Color: White Board lace trim, net lace trim, Scallop two sides lace trim, edge lace trim, cotton lace trim
 -
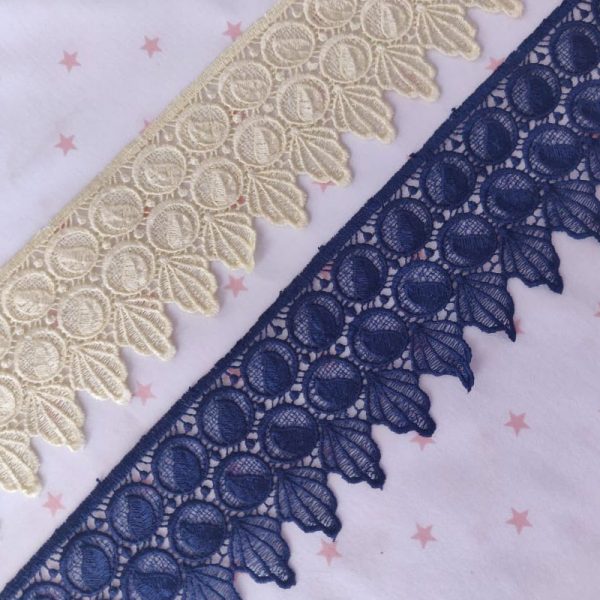 ₹42.00Hanging Lace Trim One Sided Lace 1 Metre, 3 Inches Hanging Lace Trim , One Sided Lace, Poly Thread Can be use in borders or lehenga Color: Light Yellow, Navy Blue
 -
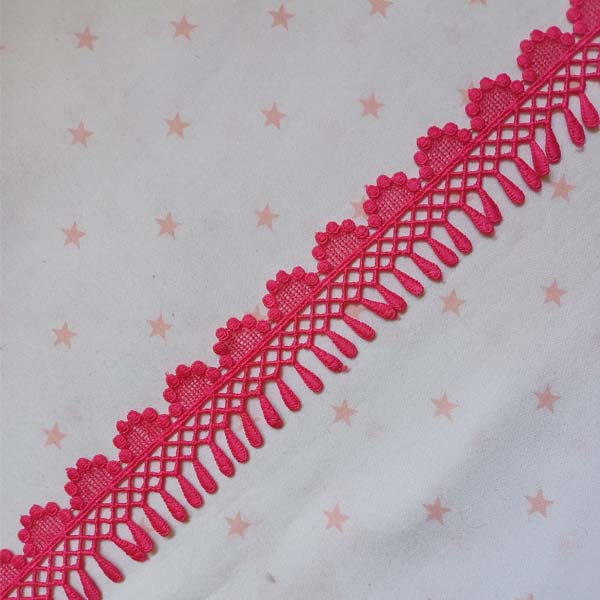
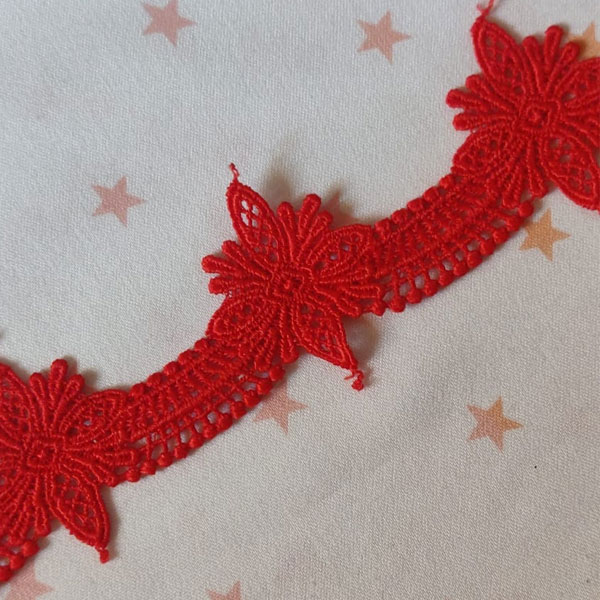
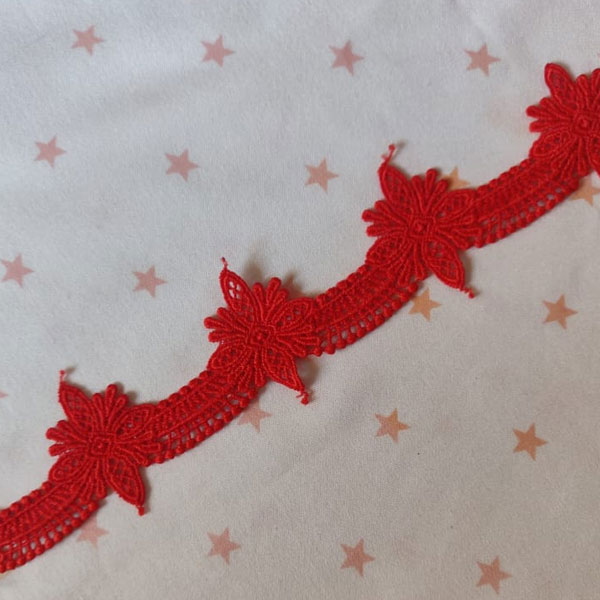 ₹50.00Red scolap flower two sided lace trim, 1metre, 2inch Color: Red Red lace trim, guipure base lace trim, in between lace , flower lace, scolap lace
 -
 ₹40.00
Imported White Dyeable Cotton Scolap Lace Trim, 1 Metre, 1 Inch Color: White Laces Imported cotton lace trim, cotton lace, scolap lace trim,hanging lace trim, white lace, dyeable lace trim
-
 ₹50.00Imported Chicken Lace Flower Lace two sided lace trim 1 metre 2 inches Hokoba lace Flower lace trim, flower lace,two sided lace Can be use in borders or lehenga or between the panels Color- Elaichi green
 -
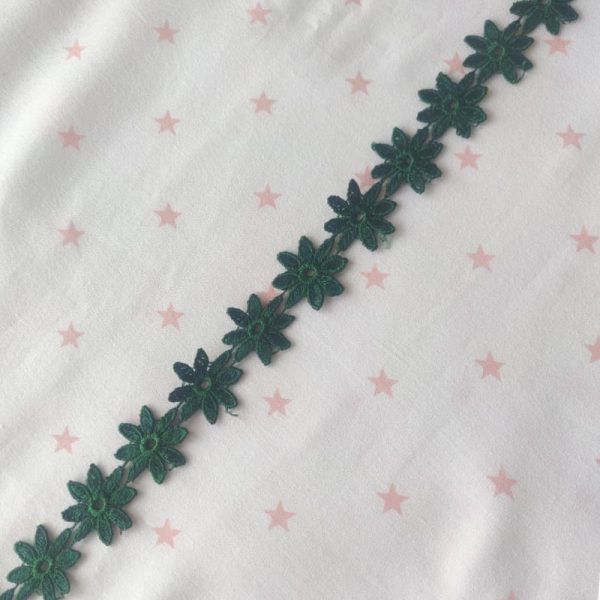 ₹30.00Flower Lace flower lace trim 1 metre 1 inches Can be use in borders or lehenga Color: Dark Green
 -
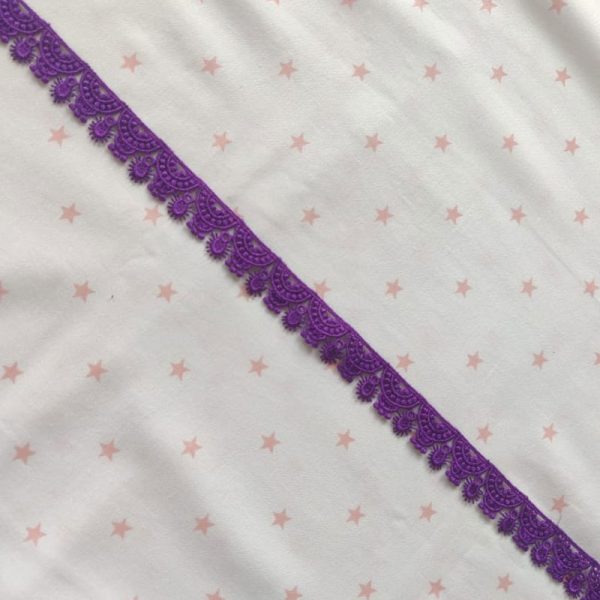 ₹32.00Edge Lace Trim Tiny Lace Trim Duppata Lace Trim 1 Metre 1 Inch Flower lace trim, hanging lace Can be use in borders or lehenga Dupatta lace Color: purple
 -
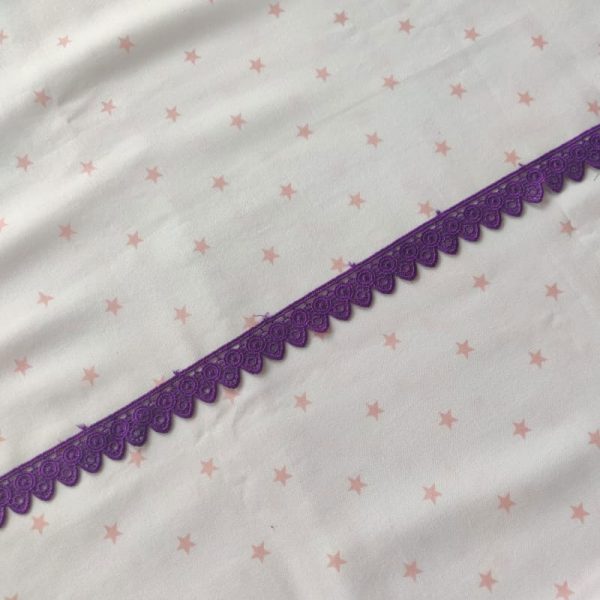 ₹32.00Edge Lace Trim Tiny Lace Trim Duppata Lace Trim 1 Metre 1 Inch Flower lace trim, hanging lace Can be use in borders or lehenga Dupatta lace Color: Purple
 -
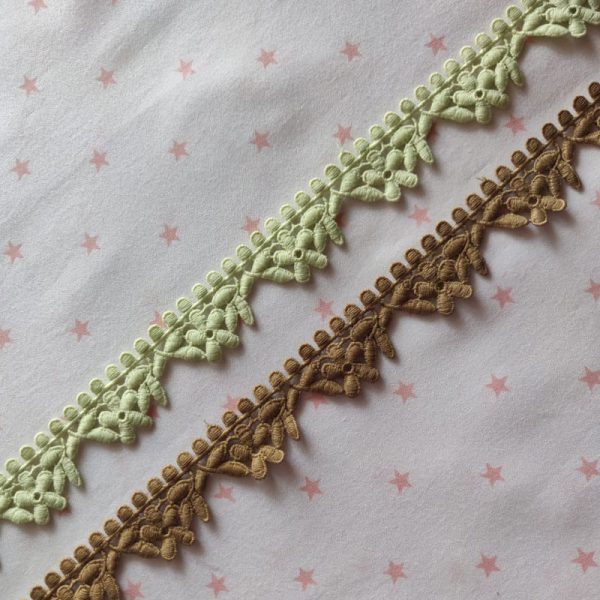 ₹48.00Hanging Flower One Sided Lace Trim 1 Metre, 1.5 Inches Hanging cotton lace trim, one sided lace,flower design Can be use in borders or lehenga Color: elachi green, Brown
 -
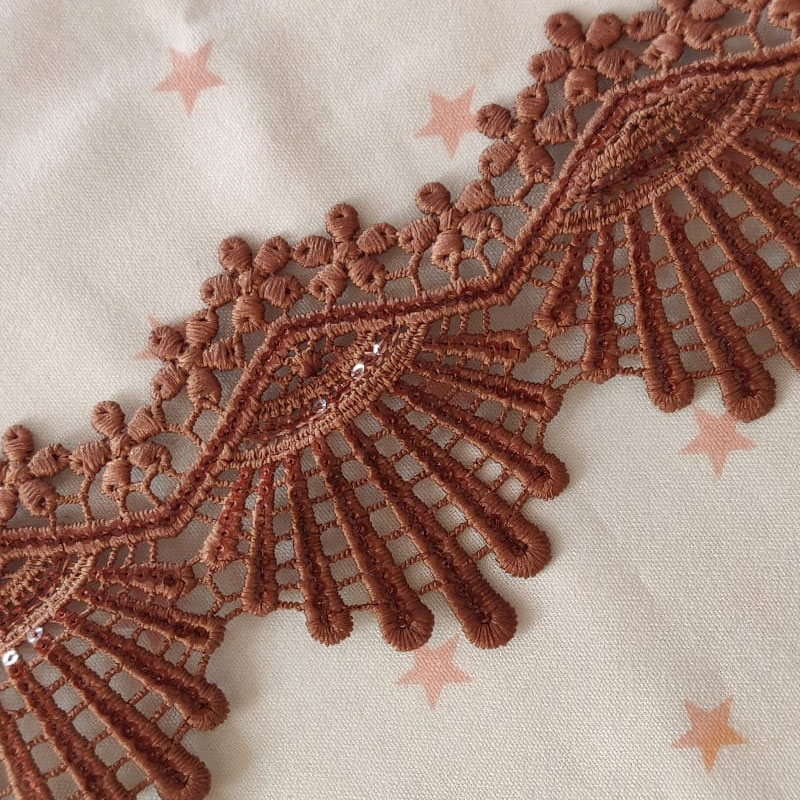 ₹100.00Brown Sequin Guipure Flower Lace Trim, 1metre, 2.5inch Color: Brown Lace Trim Sequin Lace Lace Trim Two Side Lace Lace Lace Trimming
 -
 ₹40.00Hanging GPO Lace Trim, 1 Metre, 1 Inch Hanging GPO lace trim, GPO lace, scolap lace trim, lace trim, white lace, Dyeable lace trim Color: Carrot pink Hanging GPO Lace Trim Dark Navy Blue Hanging GPO Lace Trim White Hanging GPO Lace Trim Seagreen Hanging GPO Lace Trim Cream Hanging…
 -
 ₹110.00Brown net belt trim lace, 8.5 inches, 1yard Color: Brown Two sided lace, belt lace, net lace, fancy lace Cotton Waves Lace Trim is a type of decorative lace trim made from cotton that features a wavy, scalloped edge design. The trim is often used to add a soft and…
 -
 ₹70.00White sequins fancy hanging lace trim, 1.5 inch, 1metre Color: White Fancy hanging lace, white lace, imported lace , border lace, lace trimming, hanging lace Cotton Waves Lace Trim is a type of decorative lace trim made from cotton that features a wavy, scalloped edge design. The trim is often…
 -
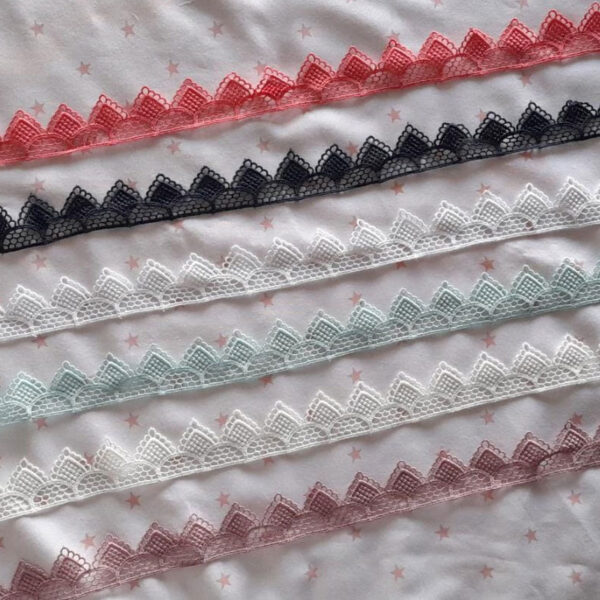
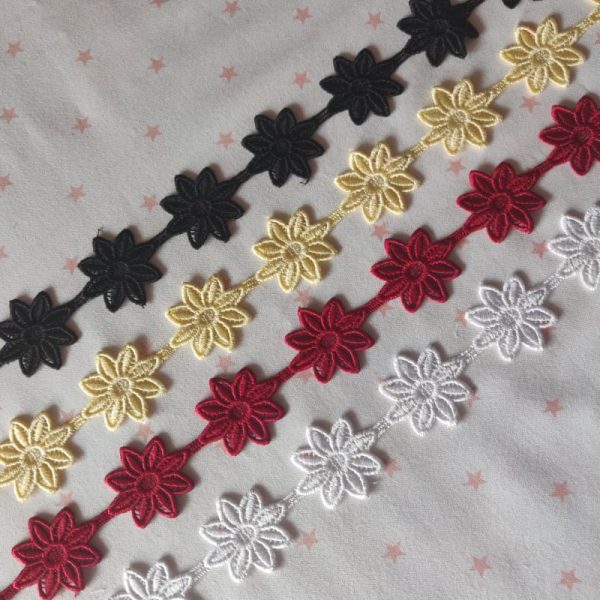 ₹35.00Flower Lace Trim Two Sided Lace 1 Metre, 2.5 Inches Flower lace trim , two sided lace, poly thread Can be use in borders or lehenga Color: Black | Cream | Maroon | White
 -
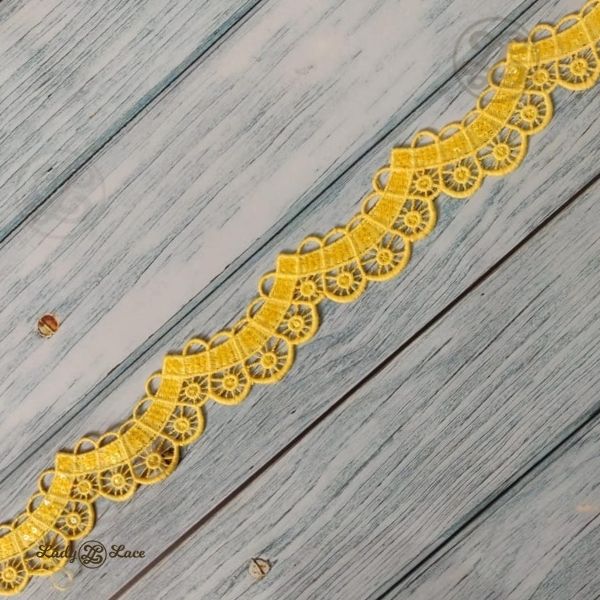 ₹70.00Tiny Yellow Scolap Sequin Lace Trim, 1metre, 1.5inch Tiny Yellow Scolap Sequin Lace Trim is a beautiful and versatile trim that can be used to add a touch of elegance and glamour to any project. It is made from a sheer net fabric and features delicate scallops that are edged…
 -
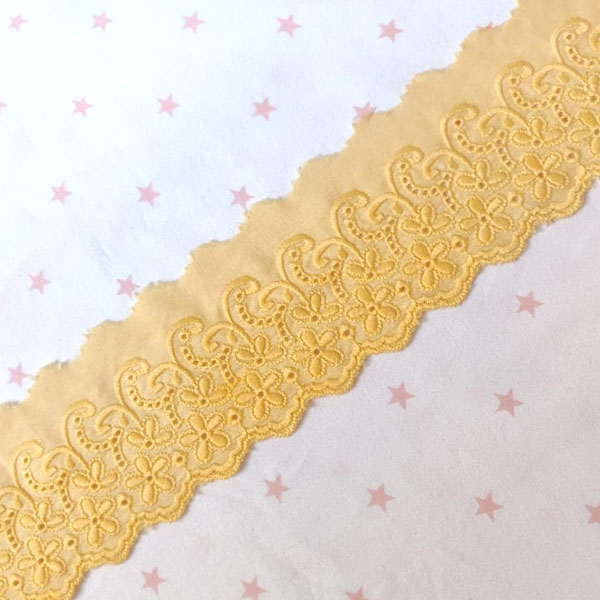
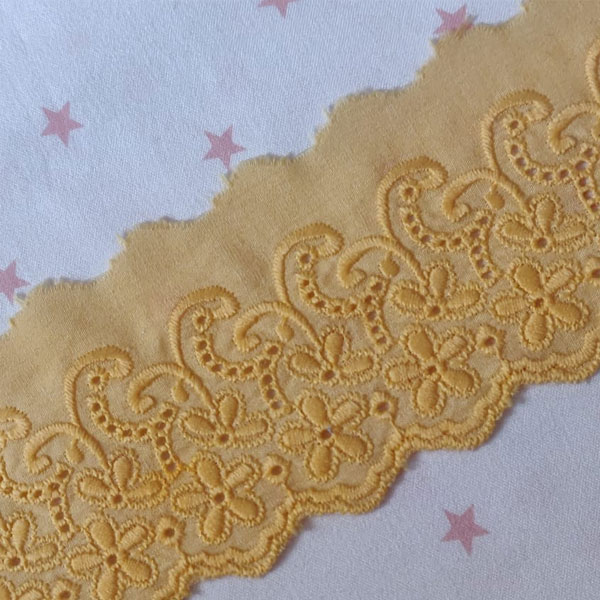 ₹70.00Imported yellow cotton hokoba scolap lace trim, 1metre, 3inch Color: Mango Yellow Hokoba lace trim ,cotton base lace trim, one side lace , flower lace, scolap lace Dyeable laces


Leave a Reply