If you’ve ever wanted to create something beautiful with just yarn and a hook, crochet flowers tutorial are the perfect place to start. They’re quick, beginner-friendly, and incredibly versatile—you can turn them into hair accessories, home décor, gifts, or even a full bouquet that never fades.
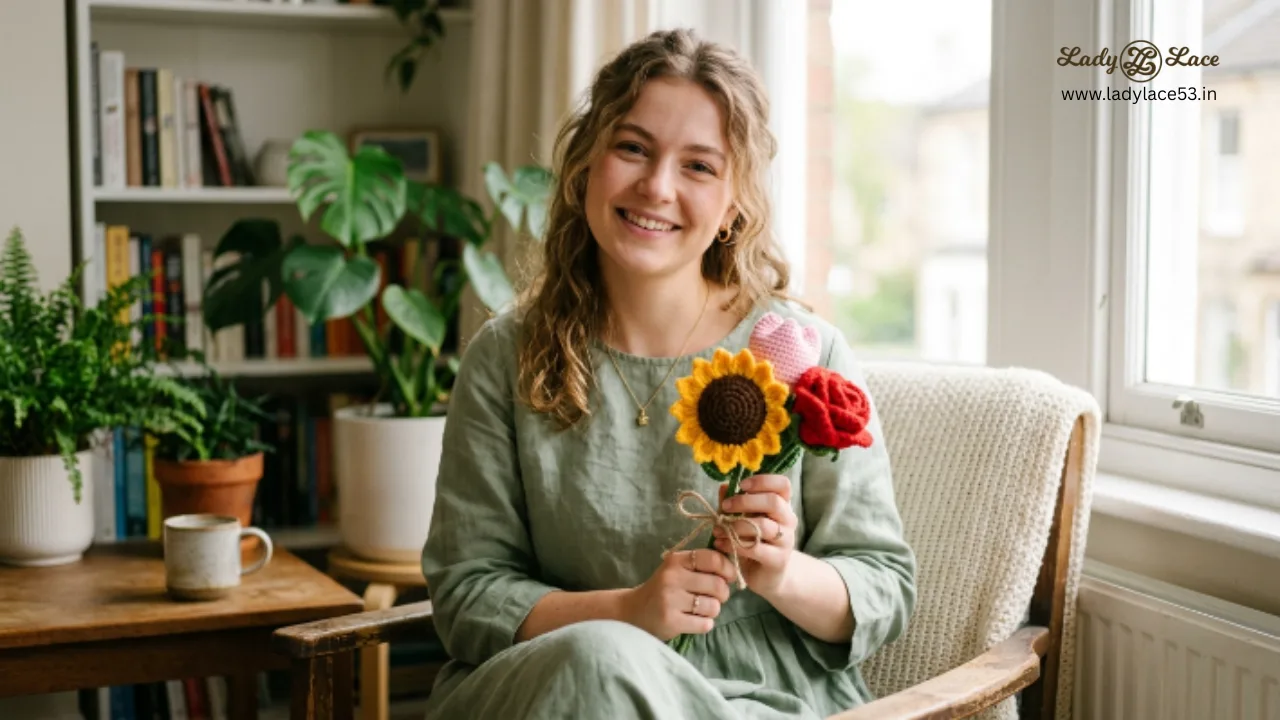
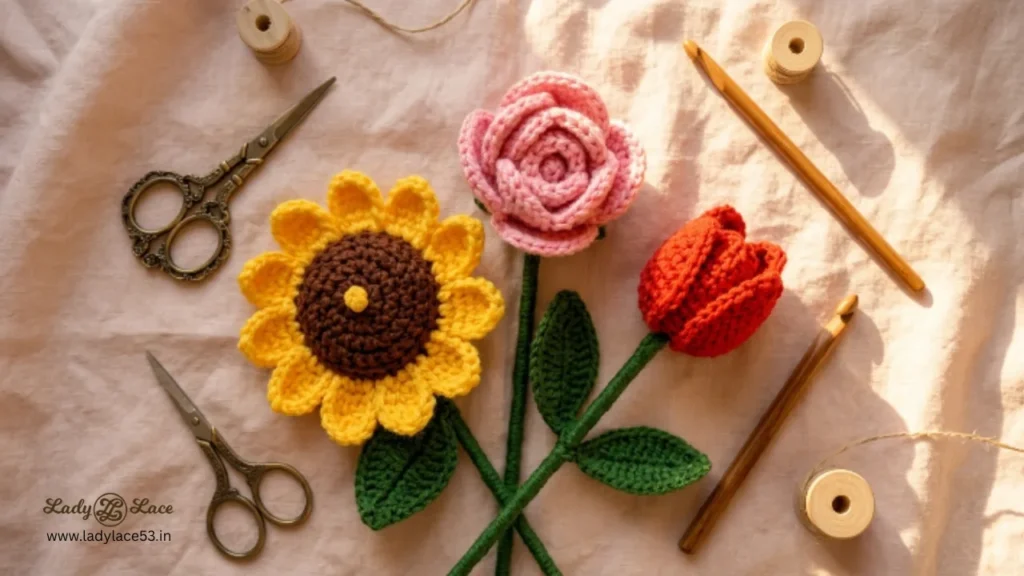
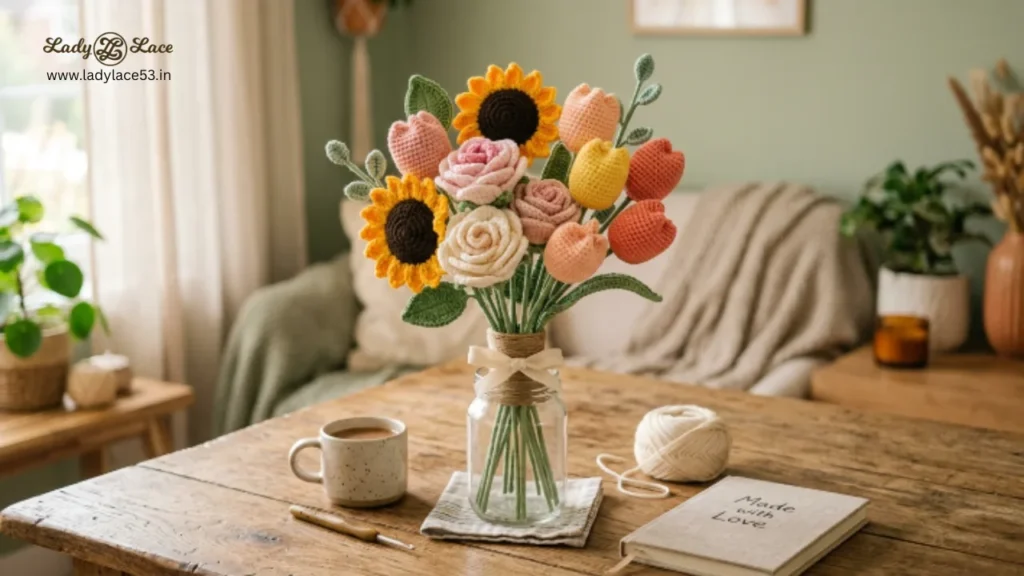
In this tutorial, I’ll walk you through how to crochet three classic flowers: a rose, a tulip, and a sunflower. Don’t worry if you’re new to crochet—these patterns use simple stitches and easy techniques.
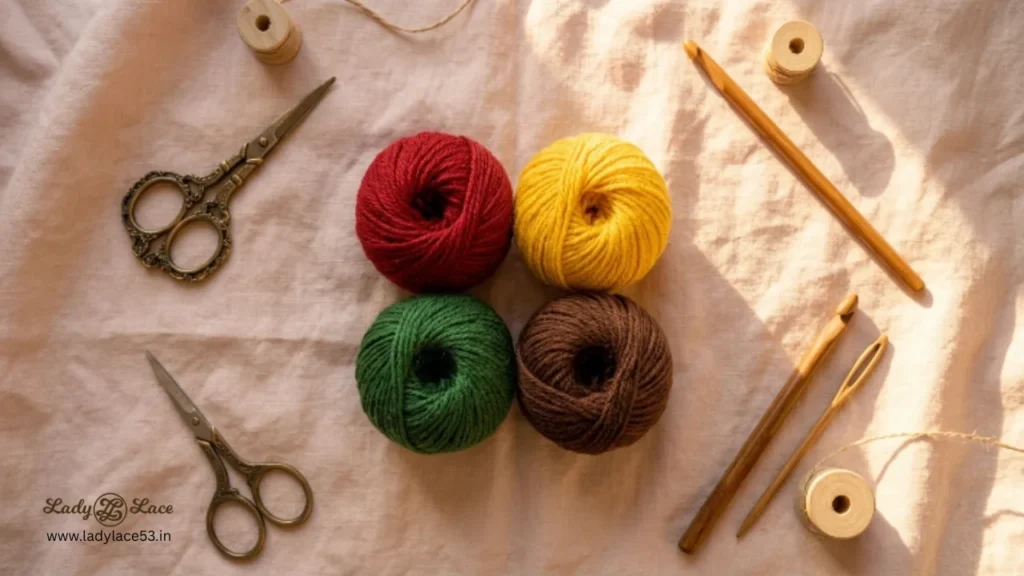
🧶 What You’ll Need
Before we begin, gather these basic materials:
- Yarn (red/pink for rose, yellow for sunflower, green for leaves/stems, brown for sunflower center)
- Crochet hook (3–4 mm works well)
- Scissors
- Yarn needle
🌹 How to Crochet a Rose (Rolled Style)
The crochet rose is one of the easiest and most satisfying flowers to make. It’s created as a flat strip and then rolled into shape.
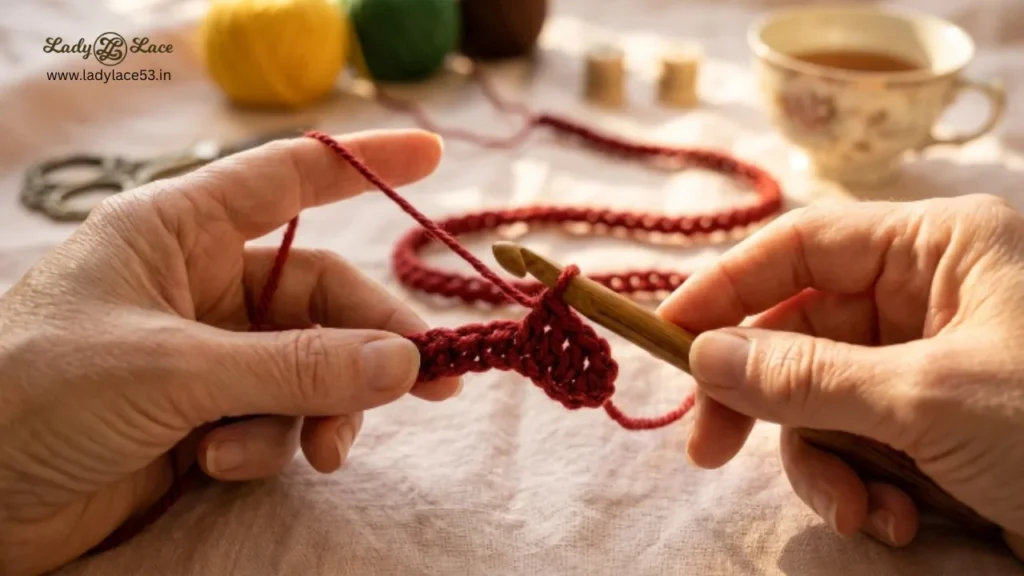
Step 1: Create the Base
Start by making a foundation chain. Around 35–40 chains will give you a medium-sized rose.
Step 2: Build the First Row
Skip the first couple of chains and work double crochet stitches across the row. This creates the base structure of your flower.
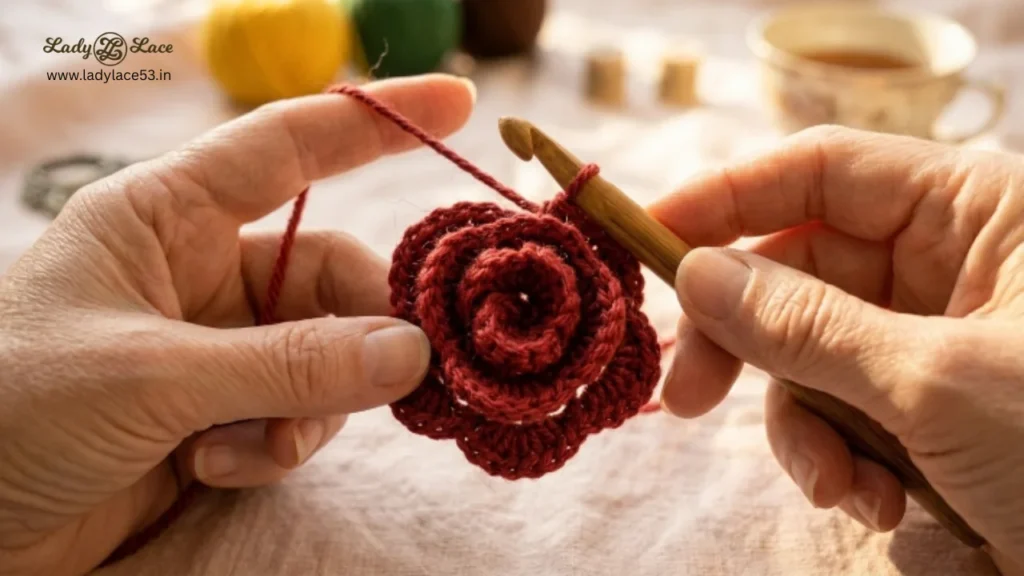
Step 3: Form the Petals
Now comes the fun part. In each stitch, create a petal by working multiple stitches into the same space. This causes the strip to naturally curl and form a wavy, petal-like pattern.

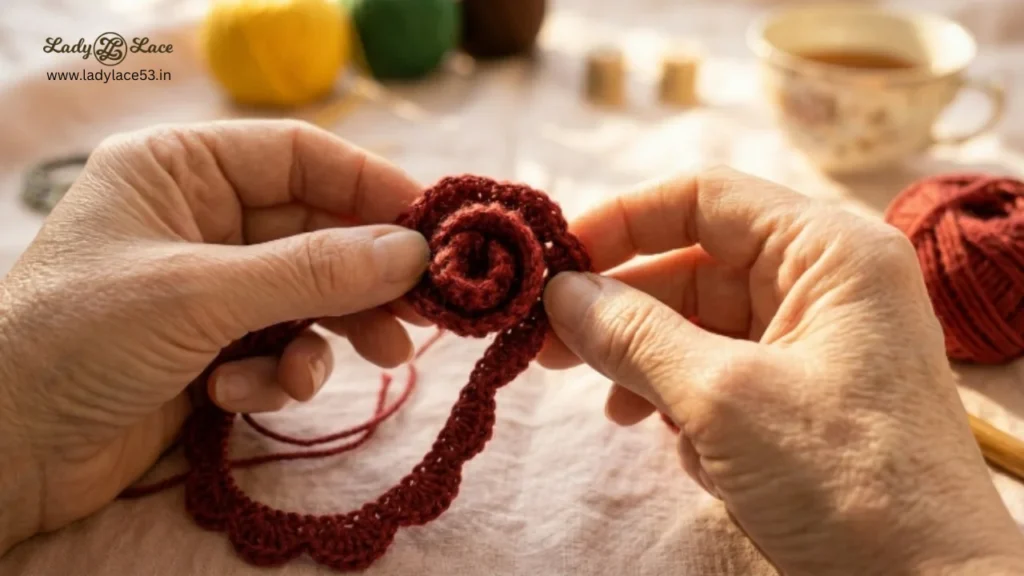
Step 4: Shape the Rose
Once your strip is complete, roll it tightly from one end. As you roll, you’ll see the rose take shape. Use a yarn needle to stitch the base securely so it doesn’t unravel.
✨ Tip: For a fuller rose, simply start with a longer chain.
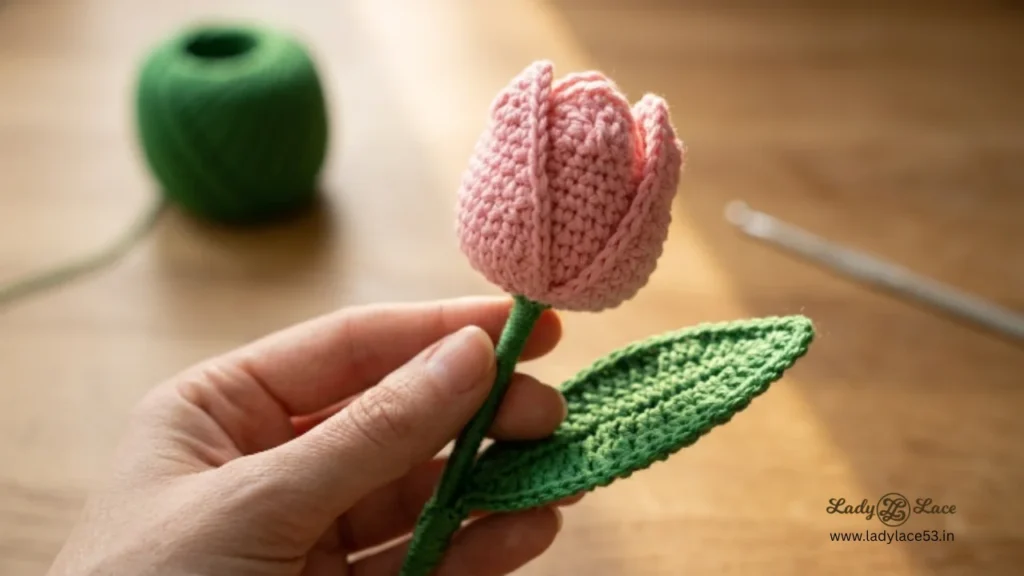
🌷 How to Crochet a Tulip (3D Flower)
The tulip has a simple 3D structure that makes it look elegant and realistic.
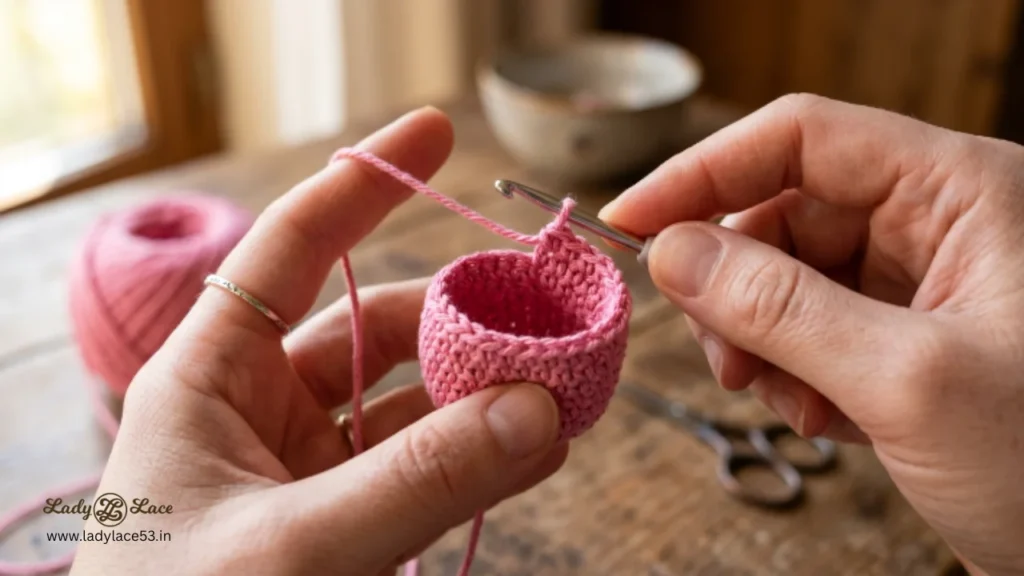
Step 1: Make the Flower Head
Begin with a magic ring and work a few basic stitches into it to form a small cup shape. The goal is to create a rounded top that slightly closes inward, just like a real tulip.
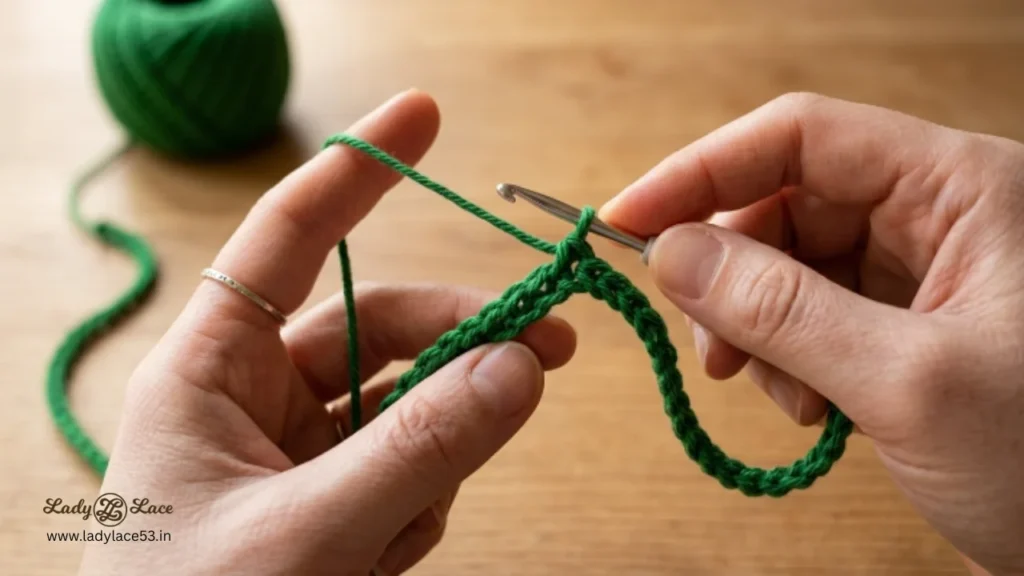
Step 2: Crochet the Stem
Attach green yarn and create a chain for the stem. You can make it as long or short as you like.
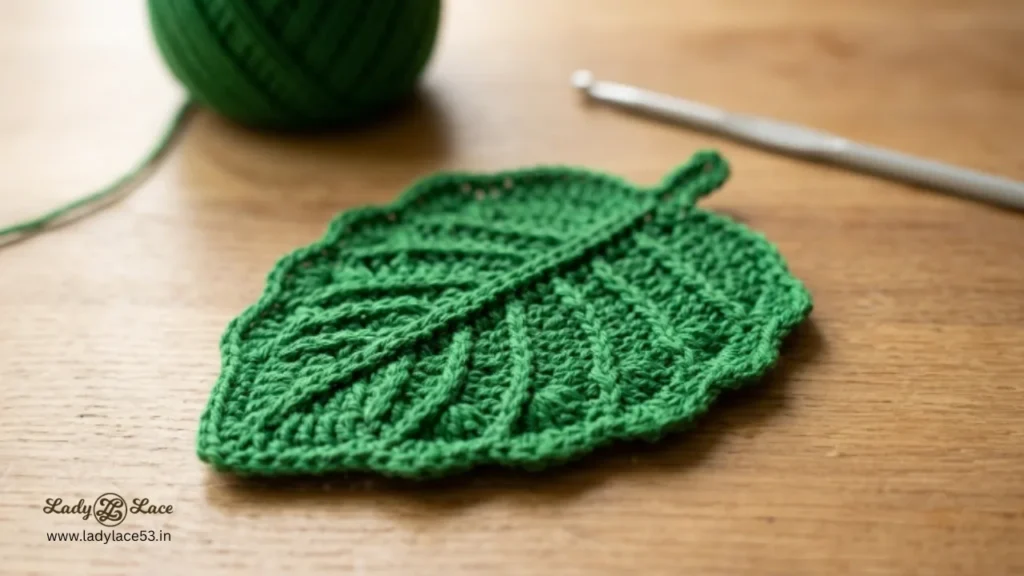
Step 3: Add a Leaf
To make a leaf, crochet a small chain and work different stitches along it to create a natural leaf shape.
Step 4: Assemble
Attach the flower head to the stem and sew the leaf onto the side.
✨ Tip: Slightly folding the top of the tulip inward gives it a more realistic look.
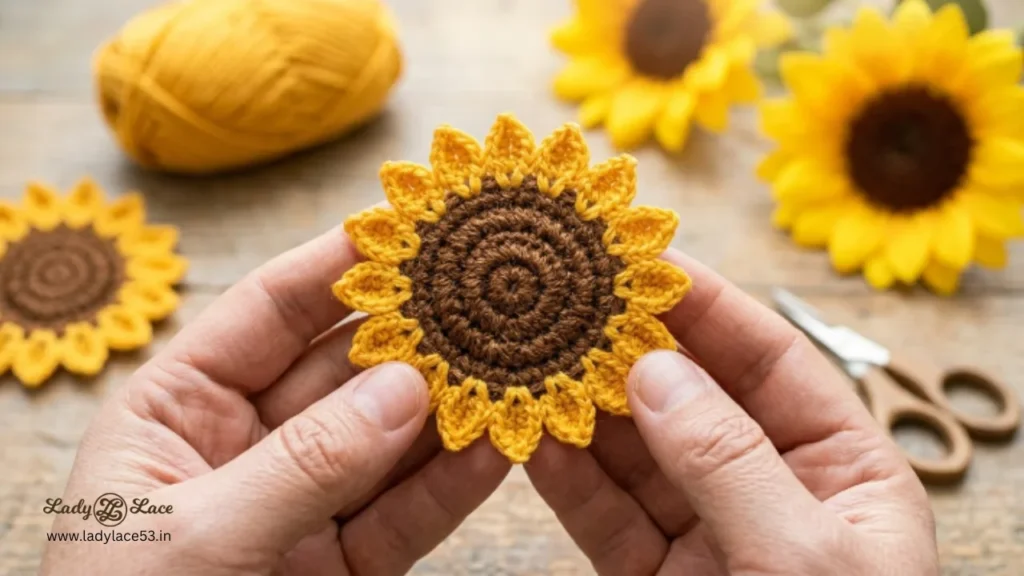
🌻 How to Crochet a Sunflower (Flat Style)
The sunflower is bright, cheerful, and perfect for adding a pop of color to your projects.
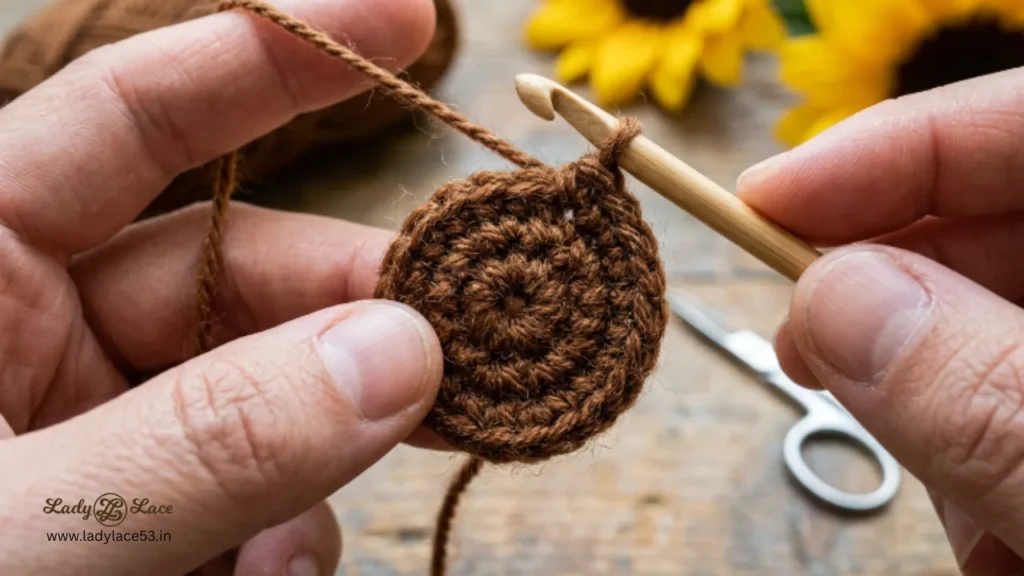
Step 1: Create the Center
Using brown yarn, make a magic ring and fill it with single crochet stitches. This forms the middle of the sunflower.
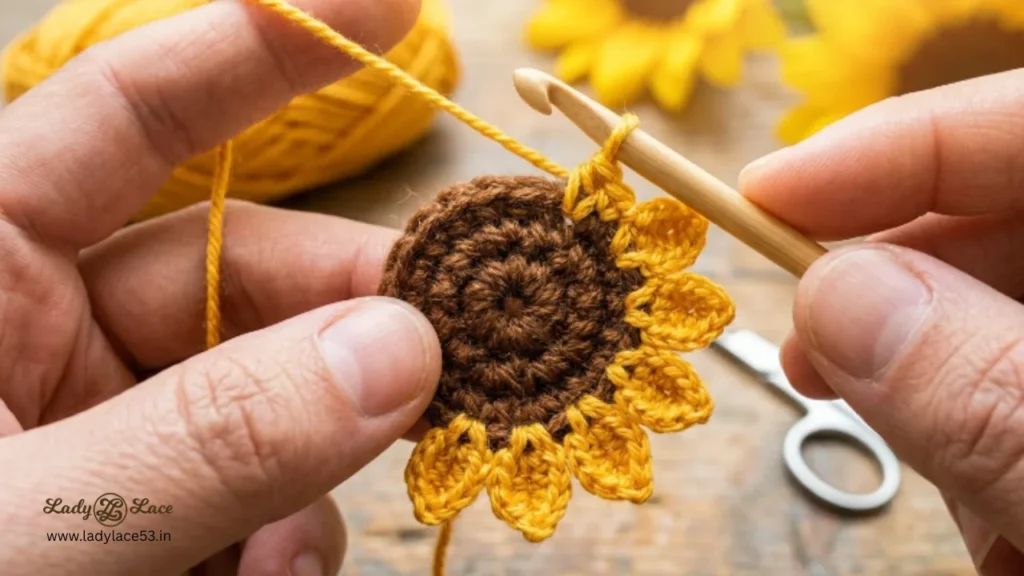
Step 2: Add Petals
Switch to yellow yarn and work petal shapes around the edge. Each stitch becomes a petal, creating a full circular flower.
Step 3: Optional Leaves
You can add green leaves using a simple chain and stitch combination similar to the tulip leaf.
✨ Tip: Keep your stitches tight in the center for a neat and defined look.
💡 Creative Ways to Use Crochet Flowers
Once you’ve made your flowers, here are a few ideas to use them:
- Attach them to hair clips or headbands
- Decorate tote bags or clothing
- Create a crochet flower bouquet
- Use them for gift wrapping
- Add them to cushions or wall art
Crochet flowers are a wonderful way to practice your skills while creating something truly beautiful. The rose, tulip, and sunflower each have their own charm, and once you’ve mastered them, you can experiment with colors, sizes, and textures.
The best part? These flowers never wilt—so your handmade creations can be enjoyed for years to come.
✨ Bonus Tip for Beginners
Don’t aim for perfection on your first try. Crochet is all about practice, and even slightly imperfect flowers have their own unique charm.